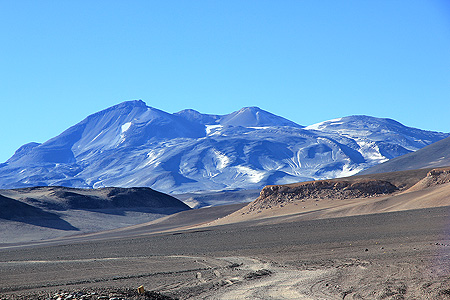
Nevado Ojos del Salado
- Nevado Ojos del Salado
- 6893 m
- Primary factor 3688 m
- Highest in Chile
- Location: South 27:06.579, West 068:32.532 (GPS on the Chile summit)
- Location: South 27:06.588, West 068:32.493 (GPS on the Argentine summit)
- The dip between the two summits is about 15 meter deep.
- The horizontal distance between the two summits is 67 meter.
- Difficulty: YDS class 4.
- Climbed January 8 2011.
|
|
Copyright Petter Bjørstad, 2009-2011. Photos also by Rob Woodall.
Information:
How to get there:
The city of Copiapó in Chile, is a natural point of reference. This city
can be reached by air from Santiago in about one hour.
From Copiapó, the trip takes about 5-6 hours by car depending a bit on where
you plan to spend the night. There are two roads, the international road no. 31 that
connects across to Argentina, and a variation of this road that forks right via a more
southern route to Laguna Santa Rosa, before turning north and connecting back up
with Hwy. 31. The Santa Rosa variation is a longer, but very scenic route, I would recommend
that any party travel both roads as part of their trip.
In order to drive to the base camp area you will need a 4WD vehicle.
The turn-off from the main highway to the Ojos base camp is before you reach Laguna Verde.
There are several dirt tracks that eventually converges to a general route. There is
a sign saying Ojos del Salado on the main highway. You shall generally drive south near the
location S26.913, W68.593.
As you drive south along the dirt track, you will very soon arrive to a small refugio,
called Murray Refuge, location S26.93289 W68.59687, 4532m, on
your right hand side. This is actually a pretty good place to stay. the use of this hut is
free of charge for climbers that are headed for Ojos. The cabin has about 10-12 beds and
is based on self service. Leave the place in good shape (better than what you arrived to) when
proceeding towards the Atacama base camp area.
Red Tape, permits etc.
Please read the appropriate section in the Trip report.
The short version is that you must have a permit from Difrol, such a permit can be obtained
via email BEFORE you travel to Chile. This permit must be delivered to the border police at their
building on the right hand side of the main road slightly further ahead than the Laguna Verde turnoff.
Thus, you must drive some kilometer BACK along the road you came, in order to locate the
turnoff for Ojos.
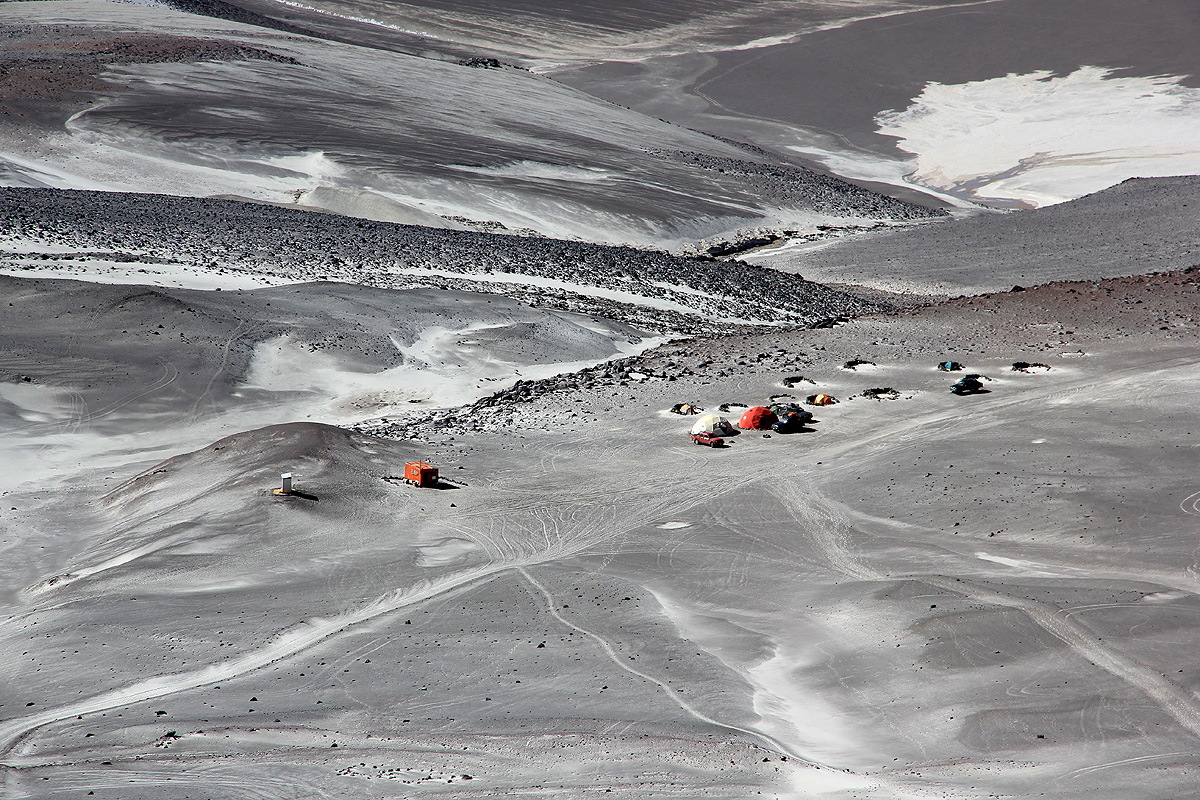
From the small Murray refugio, the track that you drive continues up to the base camp area called
Atacama. You do need a 4WD vehicle in order to get up this road. The base camp area consists
of a small hut for the local ranger and a couple of large tents (each can easily sleep more than 10
persons), that may be used free of charge by climbers attempting Ojos.
The location of the Atacama base camp area is at S27:03.561 W068:32.852,
elevation about 5250 meter. This is one of the highest
base camps in the world that can be reached by car.
Route description:
From the base camp, a clear trail heads uphill towards the mountain. Further left, as you
look uphill, there is also the tracks of a 4WD road. When we were there, this road was generally
closed to traffic. In fact, the world record in driving a general motor vehicle to as high elevation
as possible, has been set here. A somewhat more specialized jeep can possibly make it essentially to
the Ojos crater rim.
The trail joins the vehicle track higher up, but generally makes some short cuts here and there.
The route is very clear and leads to Refugio Tejos, location S27.08759 W68.53821,
at elevation 5834m, perhaps the highest really useful mountain hut
in the world. This hut is L-shaped, having 6 beds in one end and a general room for gear and backpacks
in the other end. The entrance is near the middle where you also find a good dining table.
This location is S27:05.256 W068:32.302, elevation about 5830 meter.
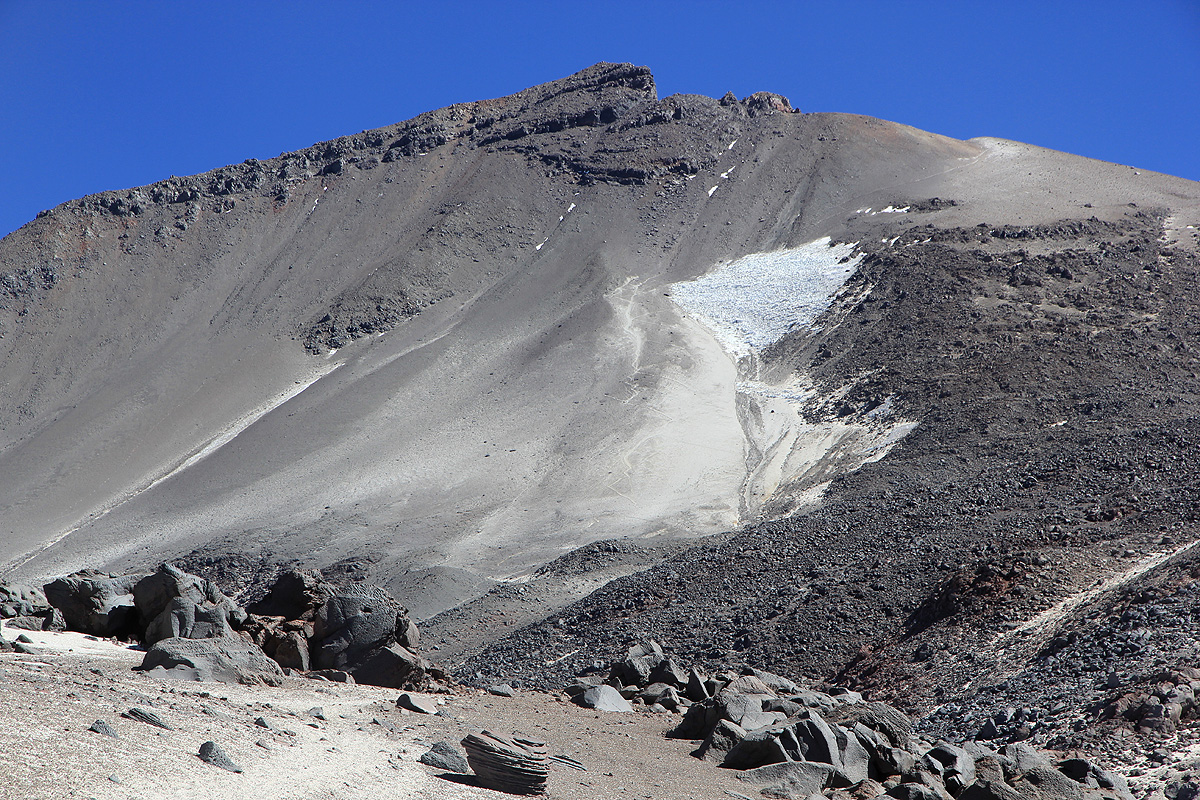
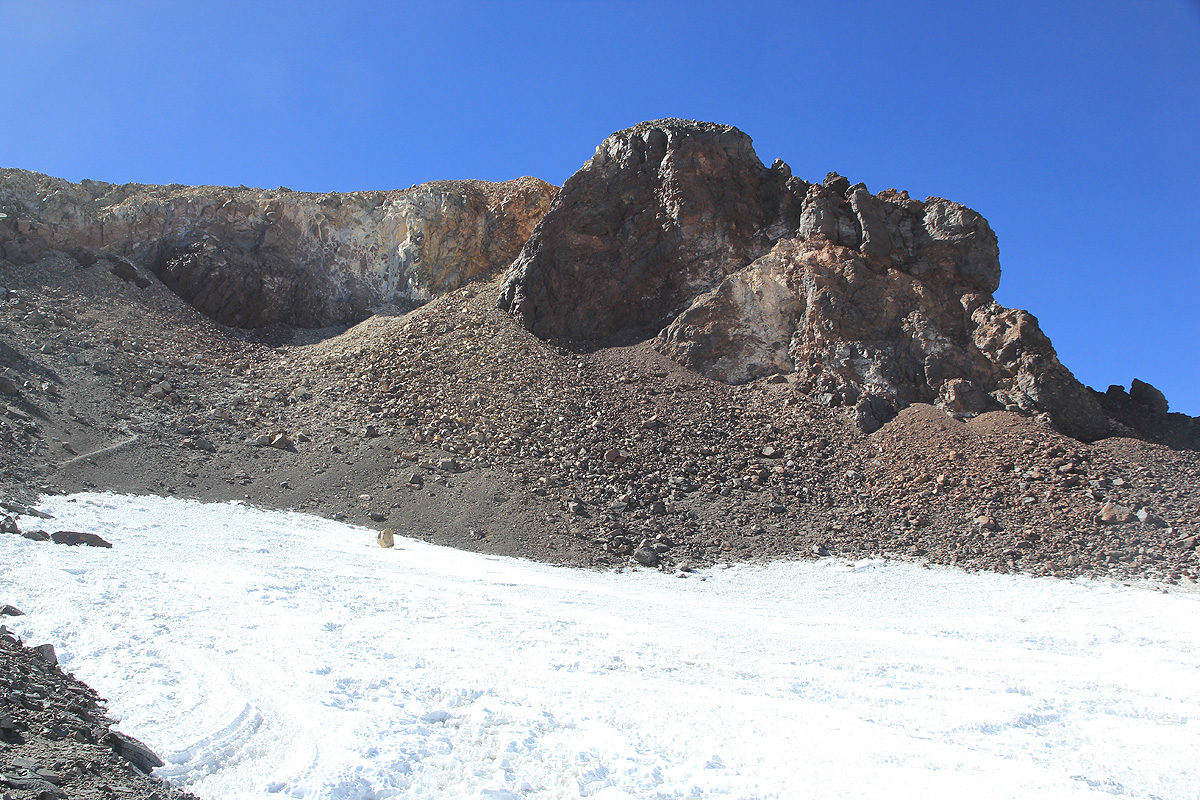
From the hut, the trail heads pretty much directly up the slope. First gentle, then a bit higher, there
is a short traverse left (sign), before the route continues to
climb towards a very distinct snowfield
higher up. The trail passes on the left side of this snow, then traverses more right while going above
the snow. The trail may look a bit steep from the distance, but it turns out to be quite gentle all
the way. After crossing a local ridgeline, the trail turns more left as it zig-zags up the final slope
to the lower part of the crater rim. This section is perhaps slightly more loose (scree) than further below.
As you enter the crater, you
will see the steep cliffs of the Chilean summit up on your right hand side.
The trail stays on the left side of the crater and circles it partway by making a big arc going right.
You will clearly see a pretty large ravine, somewhat more narrow higher up, that will take you to
the high notch separating
the Chilean summit from its Argentine twin summit. The first stretch of this hill
consists of boulders and the trail partially disappears here, just continue uphill and you will recover
traces of a climbers trail higher up.
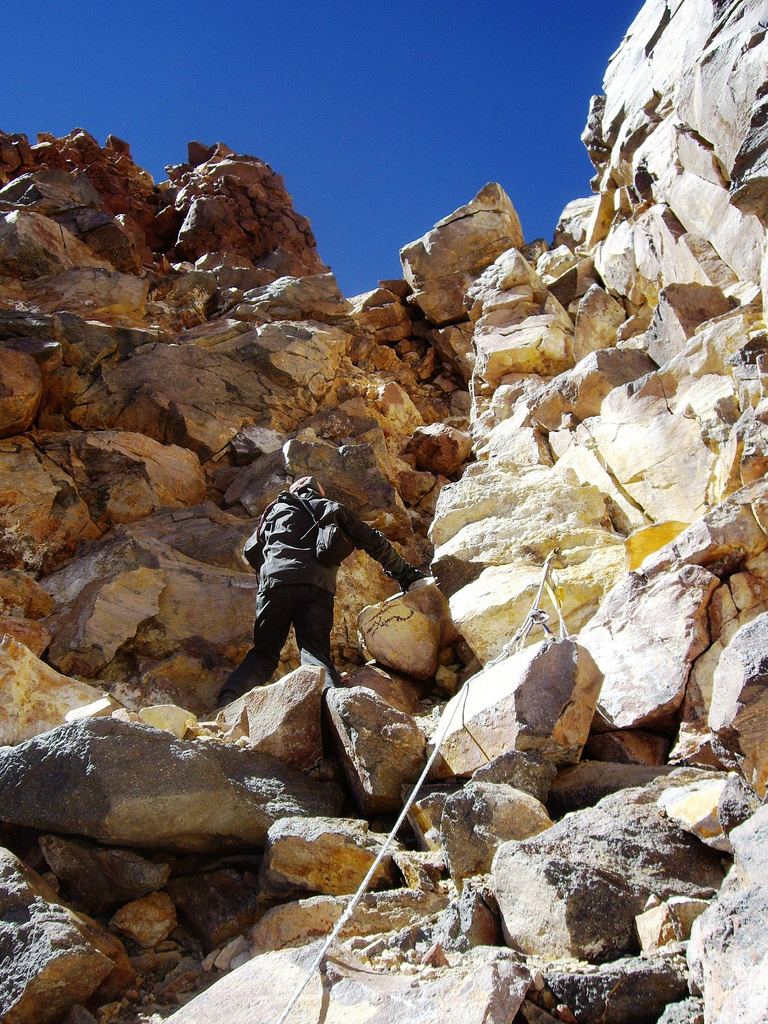
The last part of the ascent to the notch requires easy
climbing (YDS) class 3, UIAA II. There is a fixed
rope, however, most climbers will be more comfortable by leaving it alone. The notch itself is a narrow
passage, steepish on either side and consisting of a few big blocks of rock. From here, the route to
the Chilean summit continues right. The fixed rope continues more or less to the very summit. The crux
of this route is crossing over a slanted slab of
rock with somewhat limited handholds, but a good crack
(for your foot) running up on the right hand side. This (very short) section may be (YDS) class 4 when
ignoring the fixed rope (UIAA III).
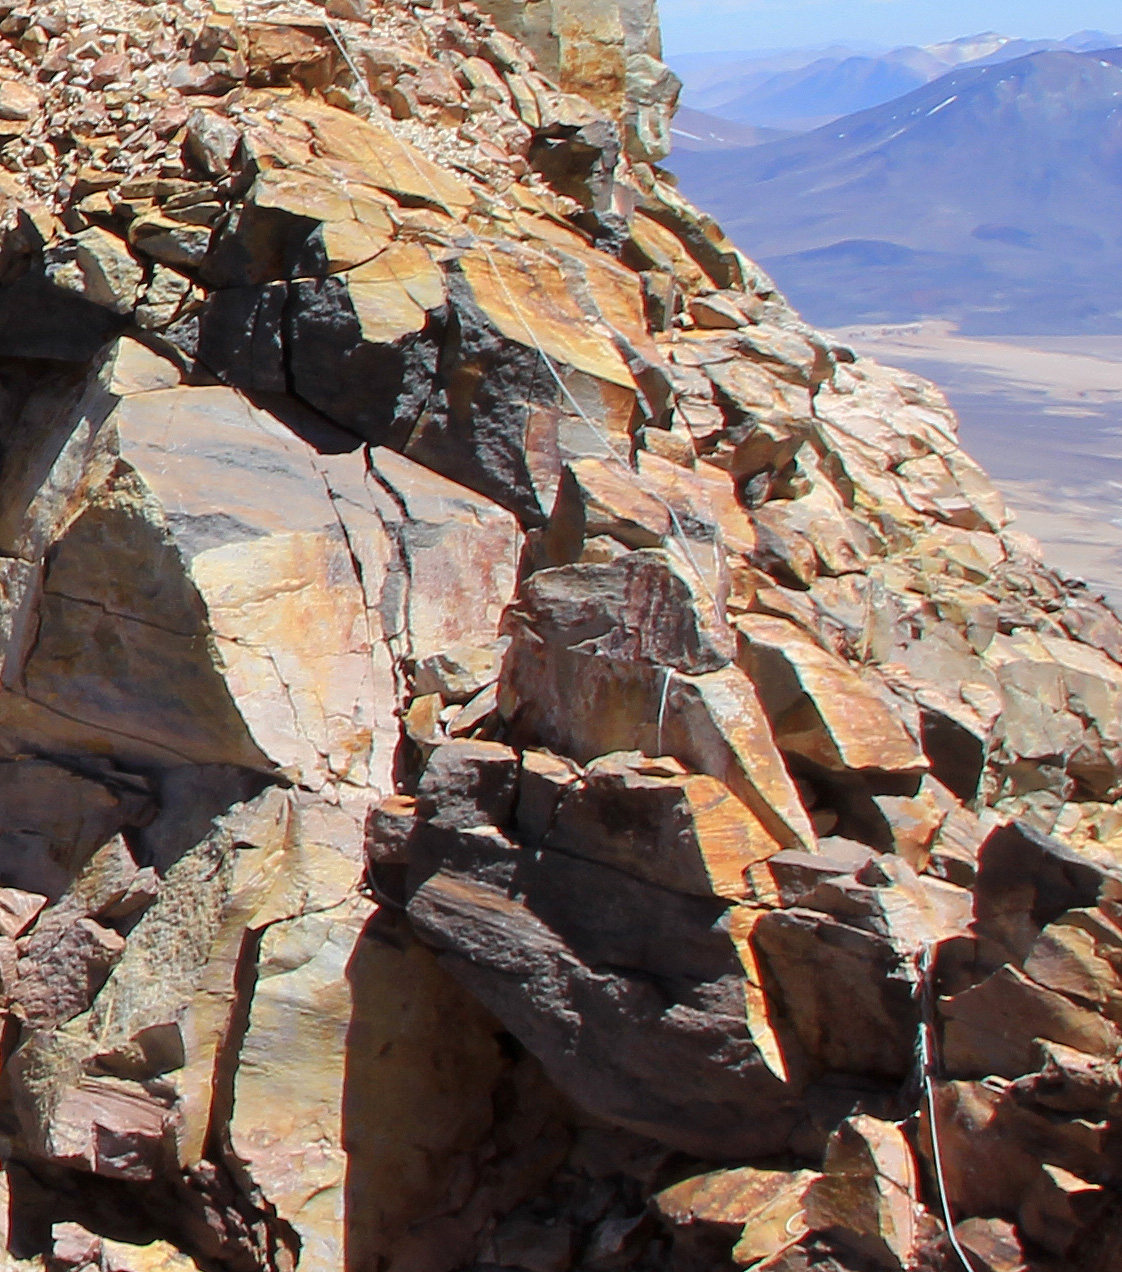
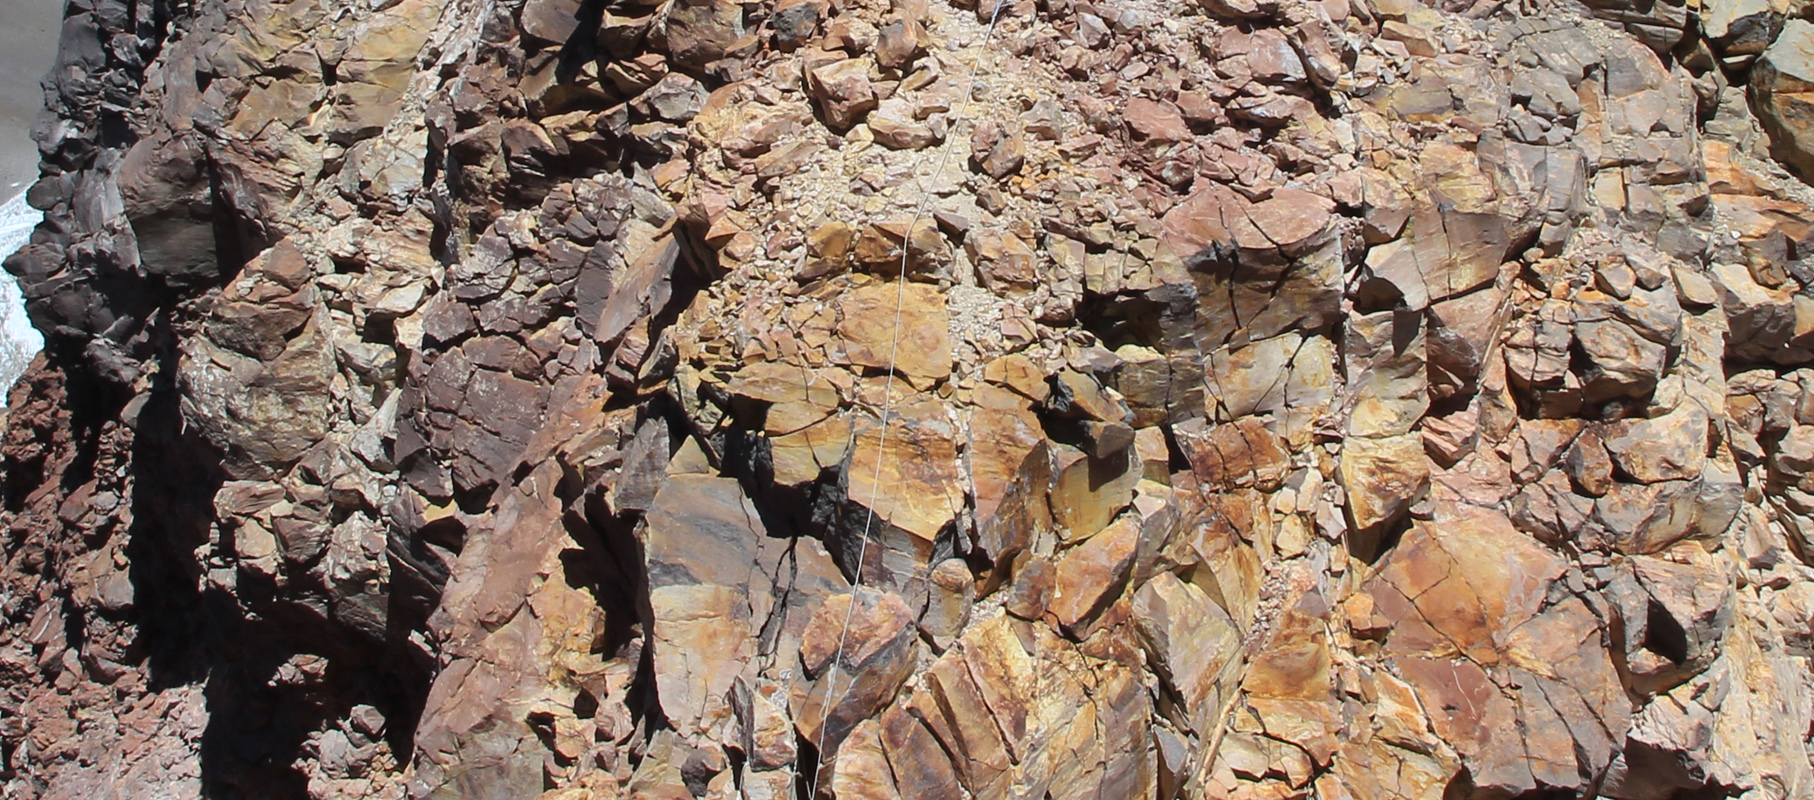
Here is a picture of the crux slab taken from the
Argentine summit. The rope runs straight across, the foot crack
is close to the steep cliff on the right. It is difficult to see the steepness both left and right
of the slab on this picture, but otherwise the picture is quite instructive.
In order to also bag the Argentine summit, return to the notch, then descend a short, but steep
section to your right (south side), ie. the opposite side from the route of ascent. Traverse to the left,
crossing loose terrain and locate a pretty obvious spot from where one can climb (YDS class 3) a short
stretch (2 meter) up with good holds. From here, proceed up to the summit along an easy slope (YDS class 2).
The return should be along the same route.
Comments:
We left the Atacama base camp area well before noon and hiked up to
Refugio Tejos in about 3 hours. The hut was pretty full of gear belonging to
a team of climbers that still had not returned. They eventually returned and cleaned
out, then left for the base camp area.
We slept early and agreed on an early start. The people up here seemed to observe that
the wind died down around sunrise, then picked up again around noon. In order to maximize
our chances of good weather near the summit, an early start seemed desireable.
We started out at 0415 under a brillant sky, but with cold temperature and strong wind.
The sun hit us as we were about to get higher than the permanent snowfield, the wind was
still strong and we split the team in order for Rob and me to pull ahead.
From this point, we moved considerably faster, this was nice since we then more easily could
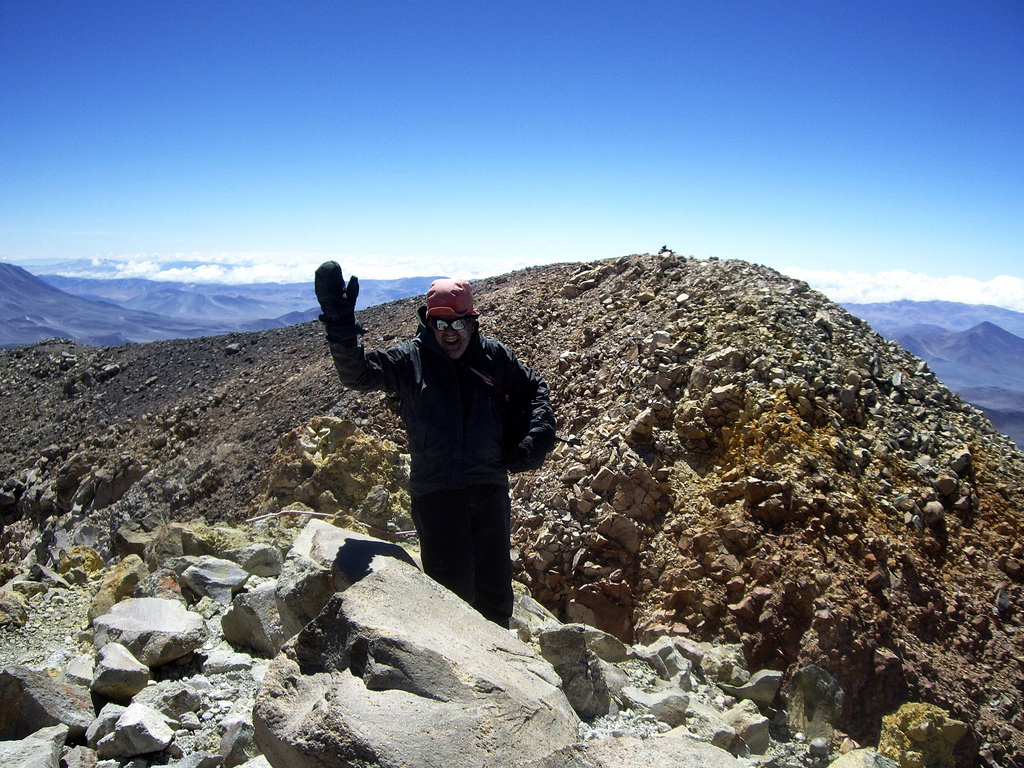
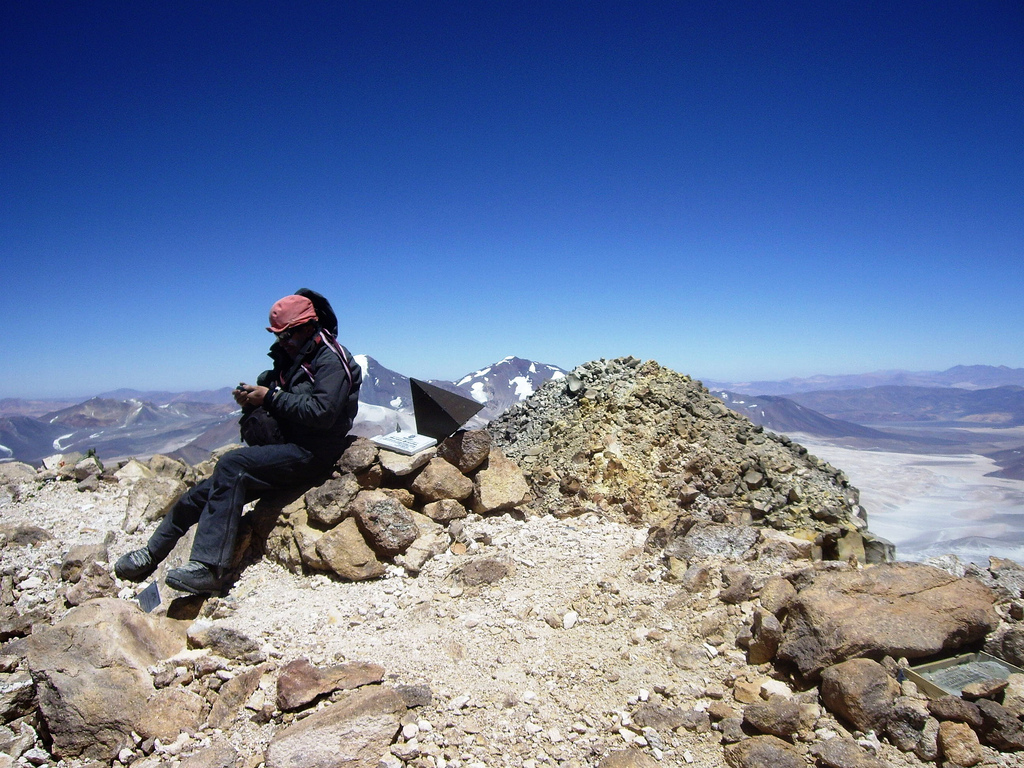
stay warm. We reached the summit
after about 7 hours, at 1130. While climbing the Chile summit
we also discovered what looked like a pretty reasonable route across to the Argentine summit.
Thus, we subsequently climbed the Argentine
summit, arriving there about 1215.
From this summit, we had
an excellent view back across to the Chile summit.
When descending
down the wide ravine, we met Greg and Adam coming up. They told us that Guane had turned quite
some ways below the crater. We exchanged a few more words, wished our two friends a good trip
to the summit, then continued our descent.
Descending was considerably easier than ascending, the scree is loose and quite easy to
descend on. We reached the refugio Tejos by 1440.
A summary of peaks climbed are available.
A full trip report can
also be consulted for more pictures and additional
details.
Resources: