Mount Speke (Vittorio Emanuele)
- Mount Speke (Vittorio Emanuele)
- 4890 m
- Primary factor 730 m
- Location: Rwenzori, Uganda
- Location: North 00:23.903, East 029:53.550 (GPS on the summit)
- Climbed: January 2, 2010.
- Difficulty: YDS class 4.
|

|
Copyright Petter Bjørstad, 2009-2010, photos also by Tor Erling Bjørstad and Rob Woodall.
Information:
How to get there:
This mountain is part of the Rwenzori in western Uganda.
See my Trip Report for additional details.
Route description:
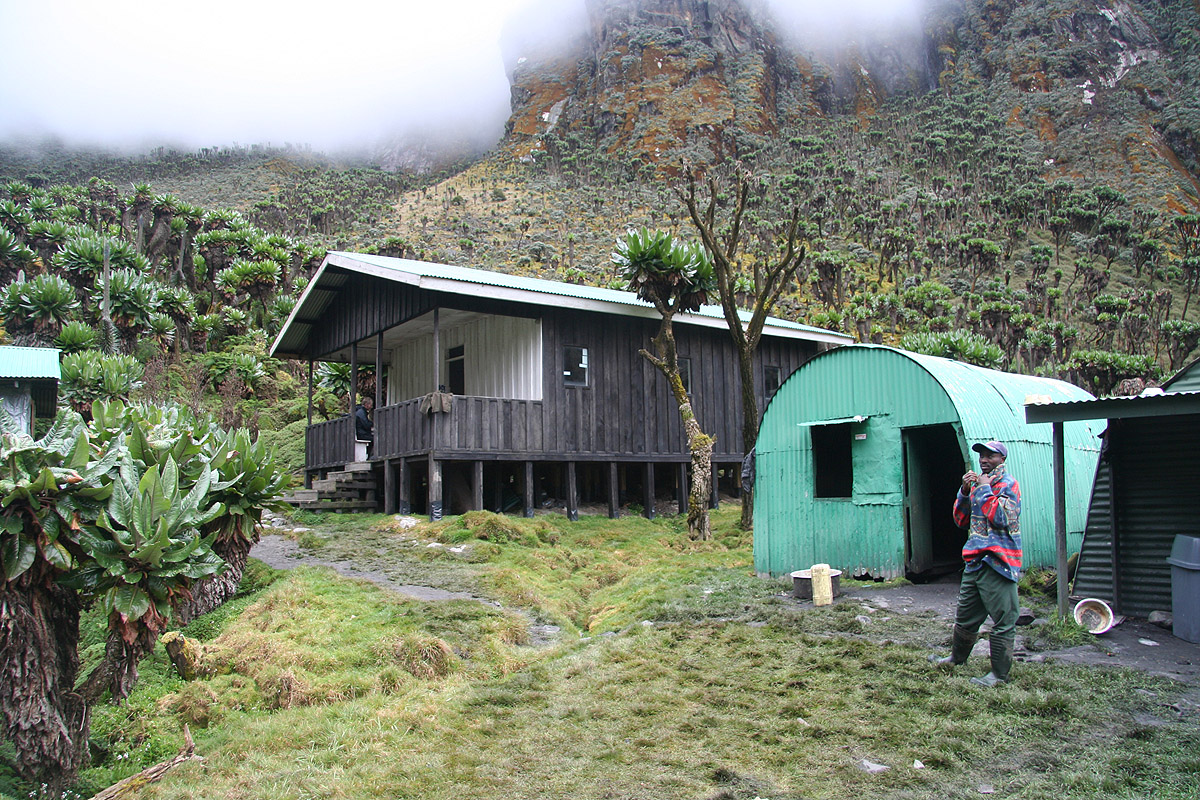
The route starts at from the Bujuku hut at
elevation 3960 meter, with location N00:23.081, E029:53.275.
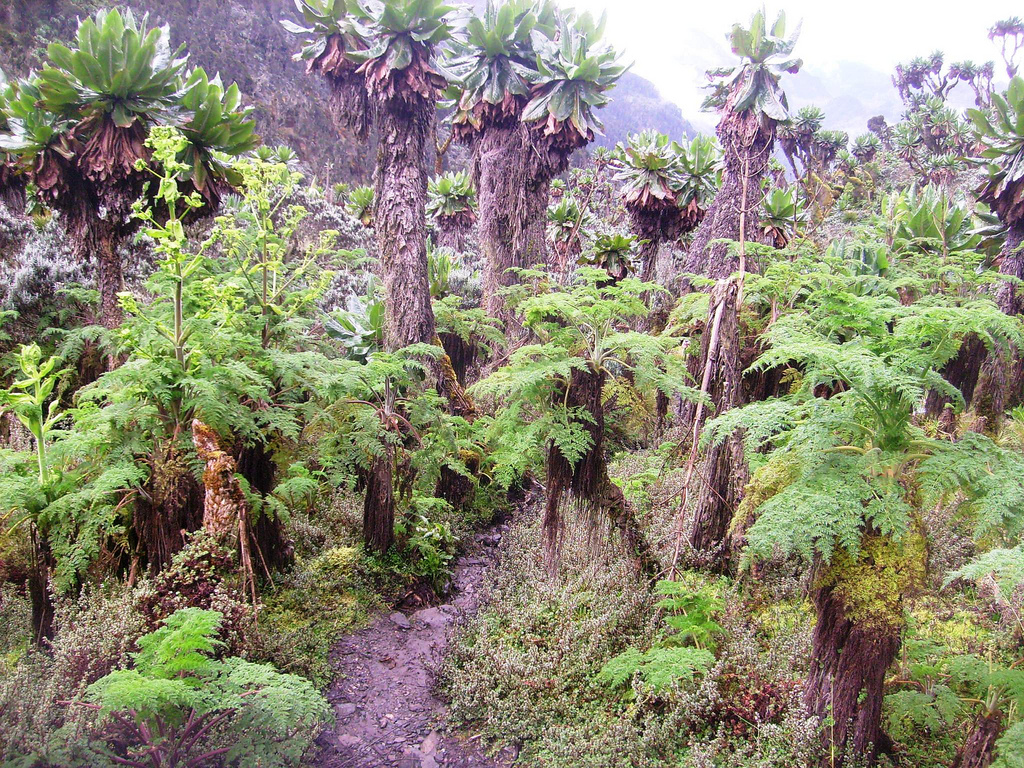
Head gently uphill, initially along the small creek, following a nice, but small trail.
Initially, there
is giant groundsel forest,
higher up, where the slope eases more meadow. Straight ahead
is a pass and this trail do indeed lead across the pass and then descends into Congo and the western
side of the Rwenzori.
Shortly before the col, there is a very visible fork where the Speke trail turns right. This location
is at about 4124 meter of elevation. The trail zig-zags up a slightly steeper slope (among trees) and ends
at location N00:23.352, E029:53.103, elevation about 4160 meter. A slanting slab of
rock with a distinct crack leads upwards.
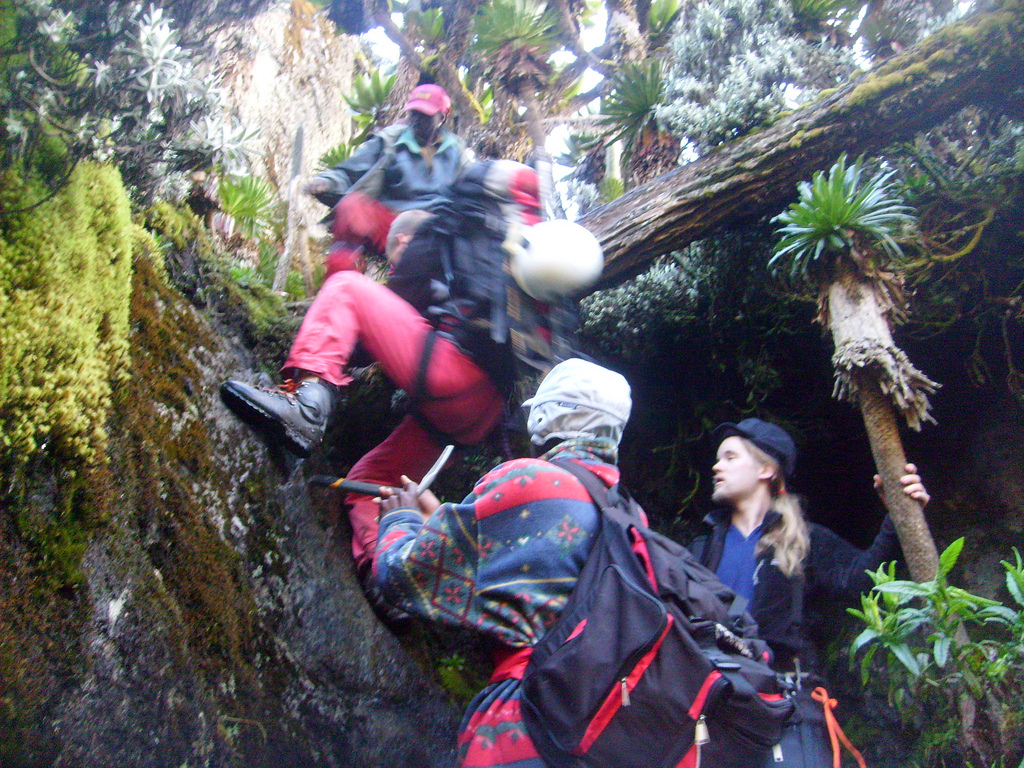
Climb along the crack, YDS class 3, for about 40 meter. The last two meter is a steep headwall
with a tree trunk across overhead. Grab the tree
and swing yourself up and around onto more gentle
terrain (A YDS class 4 move).
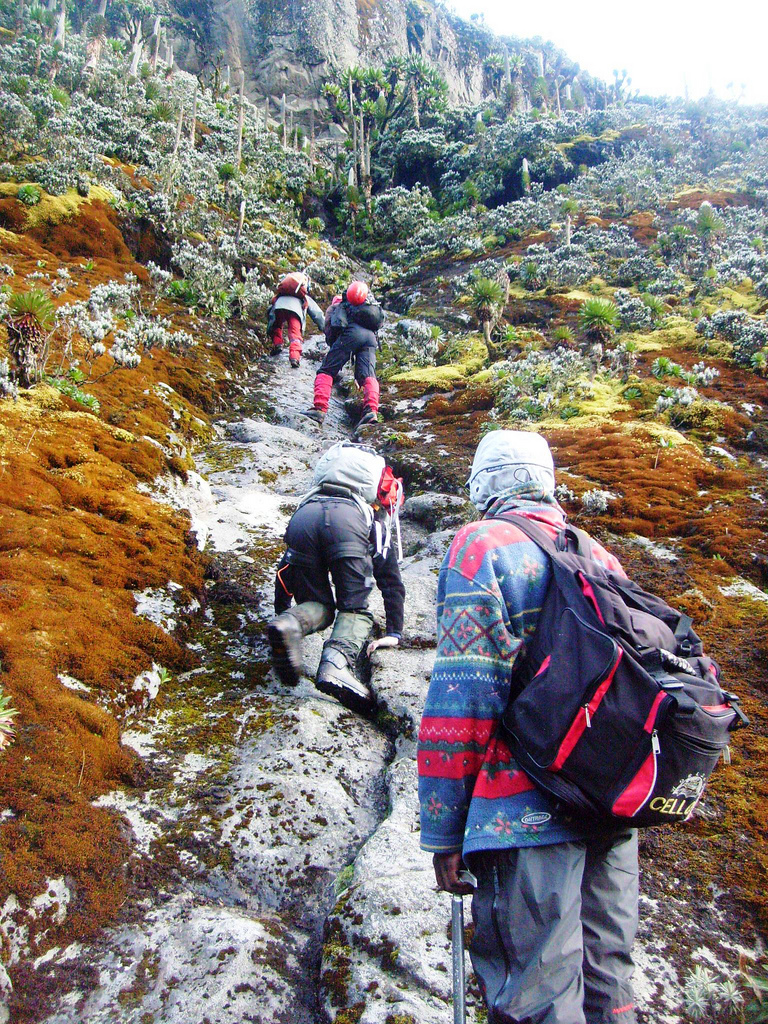
The trail continues (marked with small cairns) to zig-zag upwards. There are small ledges and slippery, wet
rock, but each scramble is relatively
short. Considerable care is needed as the general slope is steep.
Finally, this slightly unpleasant terrain gives way to drier and more gentle slopes. The route turns
left and continues at a very moderate traverse that brings you further NW with a fine view into Congo as well
as seeing a couple of smaller lakes (further ahead). Gaining more elevation, we now turn a bit more right and
ascend a long slope having a marked gully near
its top (picture from descending).
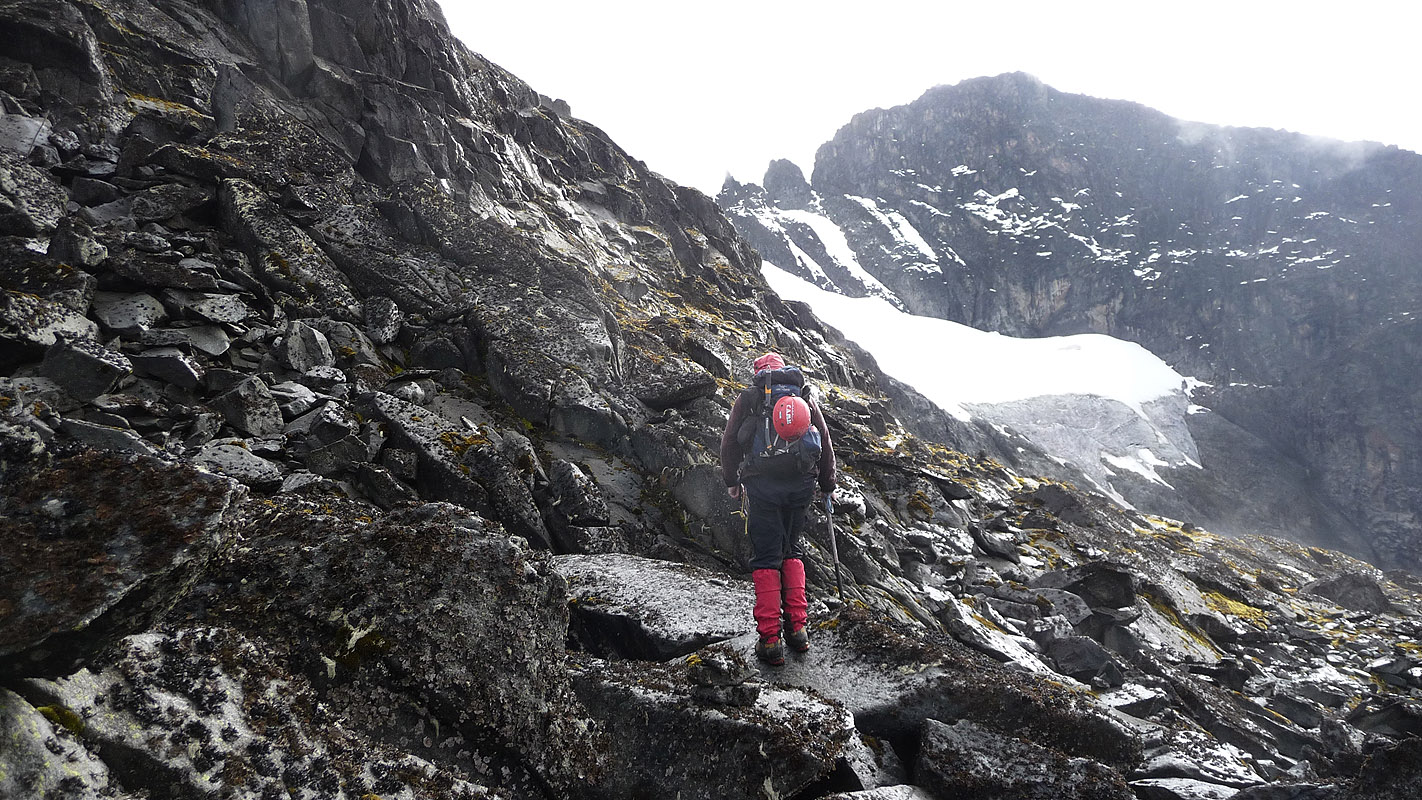
The route now needs to climb a broad ridge in order to access the small glacier higher up in a convenient
location.
This ridge starts easy, then steepens.
(On the previous picture, the route curves left in front of me, to the right of the smaller rocks, on the slabs. This
picture gives a more correct description compared to the detailed pictures of the crux area (near the upper
left corner), as those pictures make the hardest part look almost flat.)
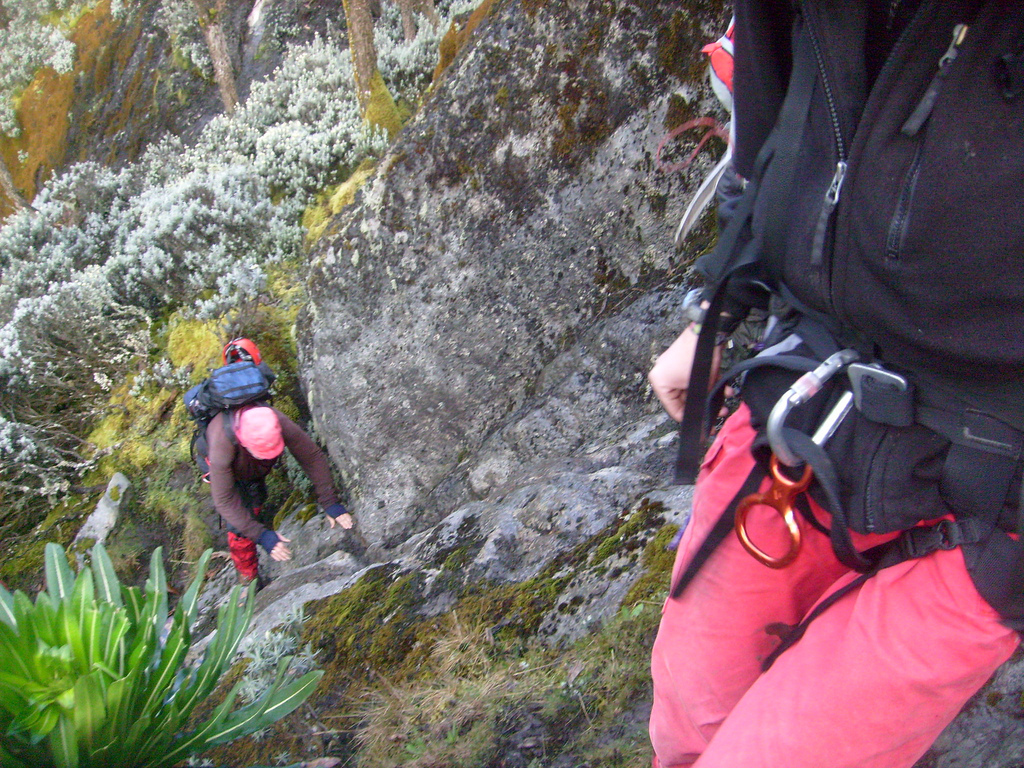
First, climb some slabs with pretty good holds along
cracks, then follows a short, but steeper section. We climbed from a wet, slippery slanting slab, then
short, but steeply up to better terrain. There is a short, narrow gully on the right side that may be
easier and certainly less exposed. Our guide descended there.
This is the crux of the route, YDS class 4.
The climbing may be easier if the rock is dry and less slippery.
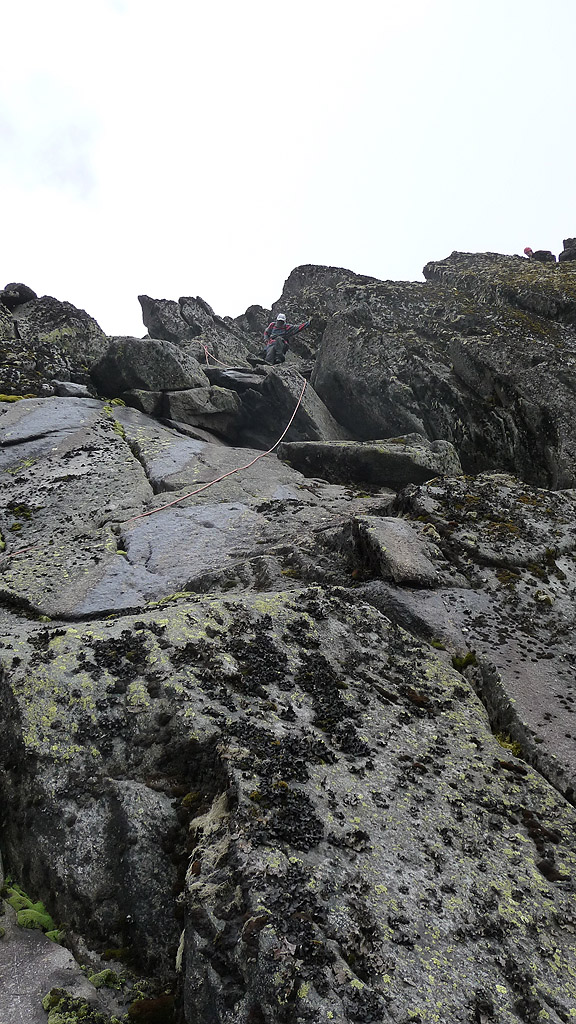
Now follows more class 3 terrain, there are at least two variations. Topping out on the ridge, one descends
slightly to access the glacier in an almost flat location.
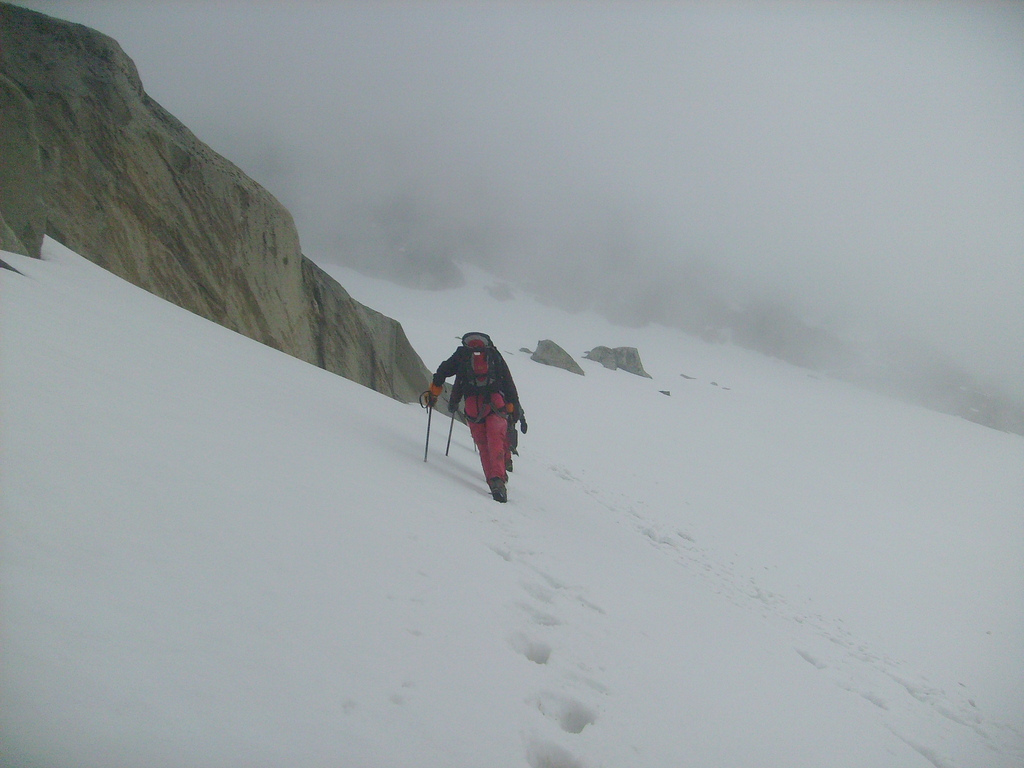
Follow the snow upwards, staying along the left
side of the glacier. Crampons may be needed (we had soft snow and did not use ours). Head further left
near the top of the snow and turn around some steeper rock towers. The final climb is now straight ahead
and only (YDS) class 2 terrain.
There are two summits, almost equal in height.
The higher one is to
your right when ascending, the other
summit (supposed to be 1-2 meter lower) is slightly harder just before its top.
Comments / Trip Report:
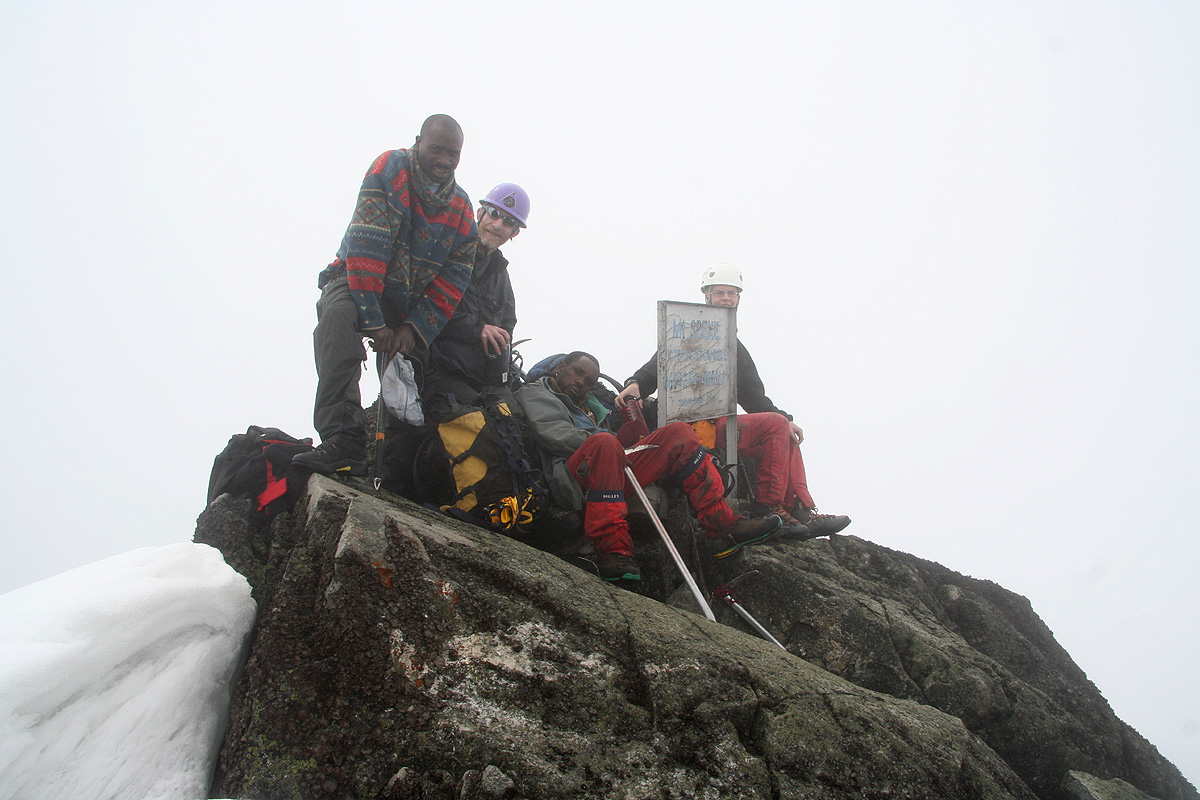
I did this climb with my two sons, Tor Erling and Pål Jørgen, plus my friend
Rob Woodall. We started out from the Bujuku hut around 0640 and reached the summit in 4 hours,
at 1040. The summit was in the fog by the time of our arrival, all that could be seen was
some rocks, fog and a bit of snow. Having walked in very unfamiliar terrain and vegetation
the three previous days, Pål suddenly
exclaimed: "This really looks like Norway".
The crux was very slippery and a bit intimidating and Tor decided to wait just below.
We left the summit at 1100, took an abseil on
the two steeper sections and were back at
the Bujuku hut by 1320.
Also thanks to our two guides George and Sebestian that led the proper way to this summit.
Resources:
- Mount Speke, as seen early morning from the Stanley glacier.
- Mount Speke as seen from the trail between Bujuku and Elena. Note the Bujuku hut and the steeper lower part of Mount Speke.
- Mount Speke as seen on the way to Elena.
- Mount Speke as seen from Margherita Peak.
The route comes up along the left side (just right of the shaddow), one can see the tracks in
the snow. The crux area is very near the lower edge of the picture.
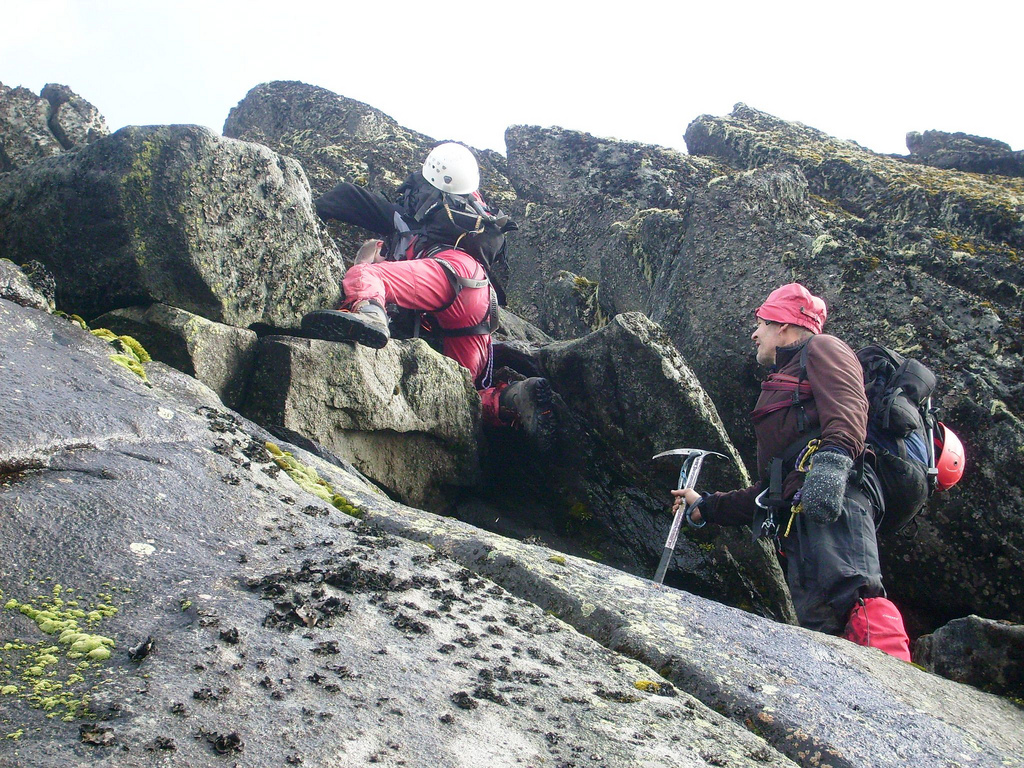
- Rob climbing the crux, the picture
is a bit misleading, he is currently on a slanting and very slippery piece of rock with
exposure behind him.
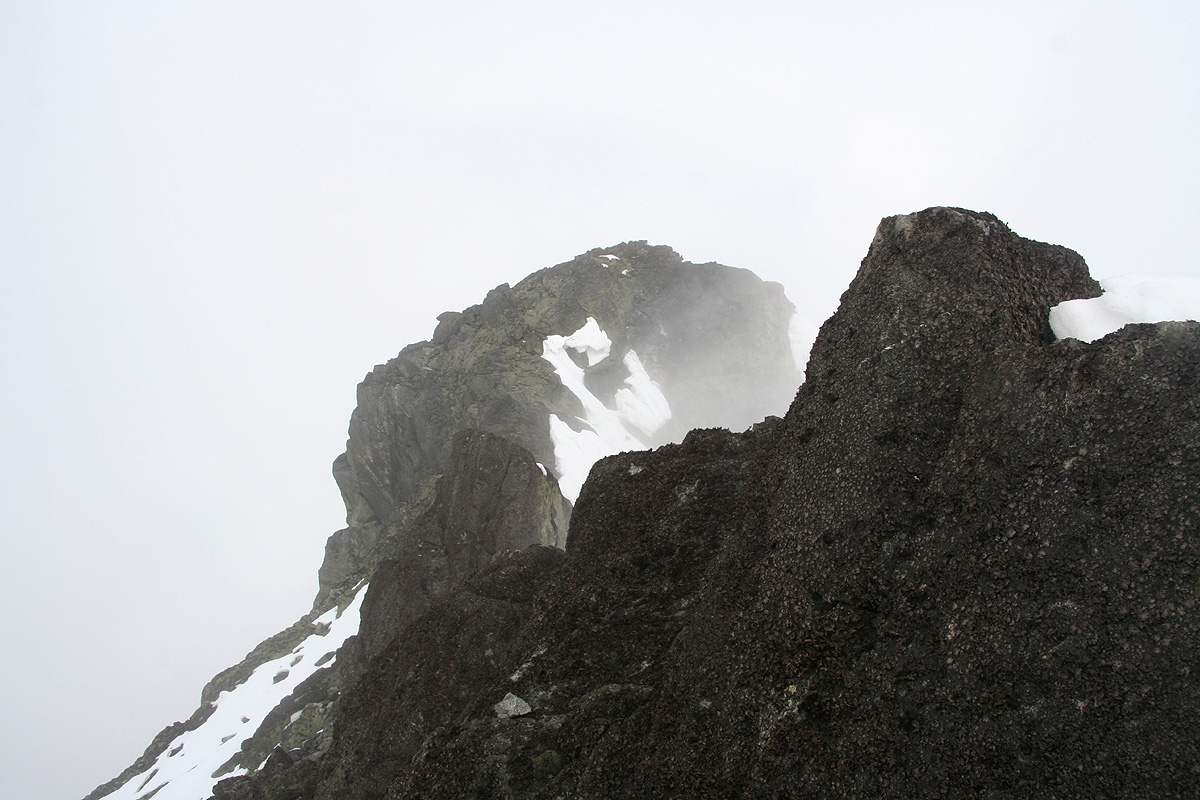
- The crux area as seen from the summit of Margherita.