Pico Bolivar
- Pico Bolivar
- 4988 m
- Primary factor 3964 m
- Venezuela HP.
- Location: North 08:32.467, West 071:02.899 (GPS at the summit)
- Climbed January 8. 2008.
- Difficulty: YDS Class 5.4 / UIAA IV / French Alpine AD.
Pico Bolivar
|
|
Route description:
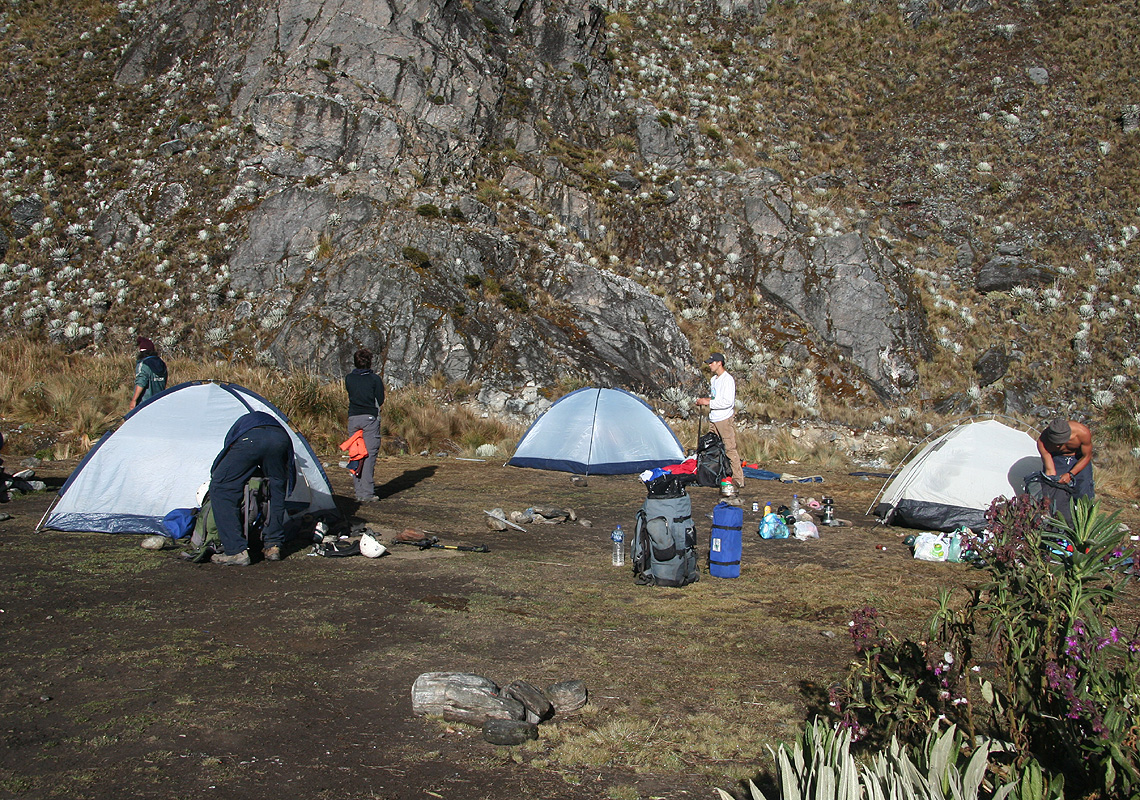
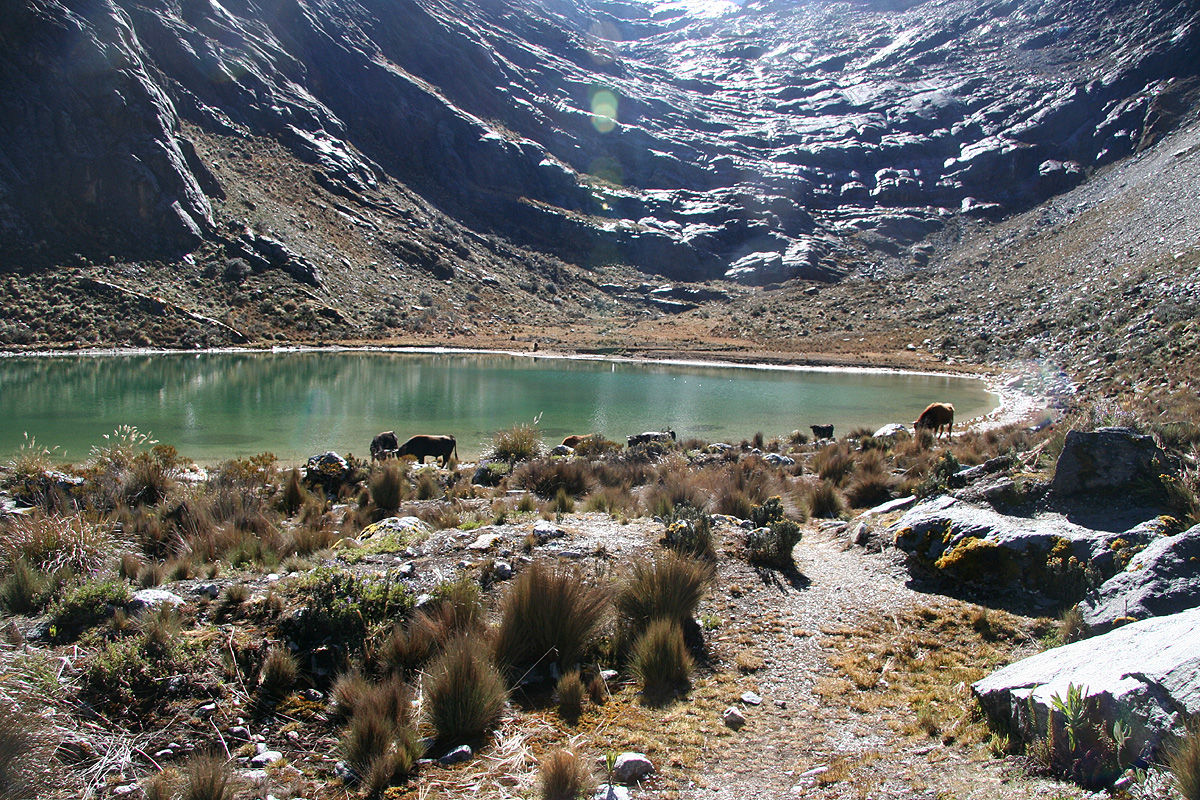
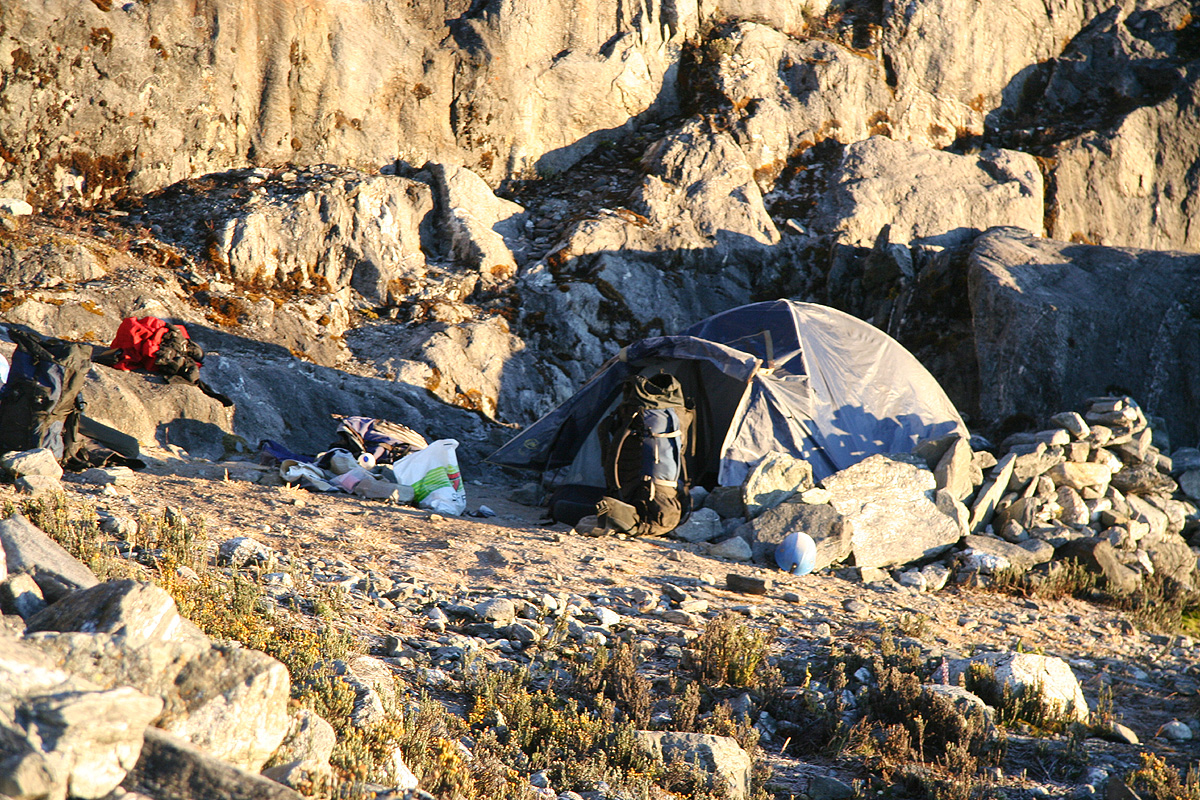
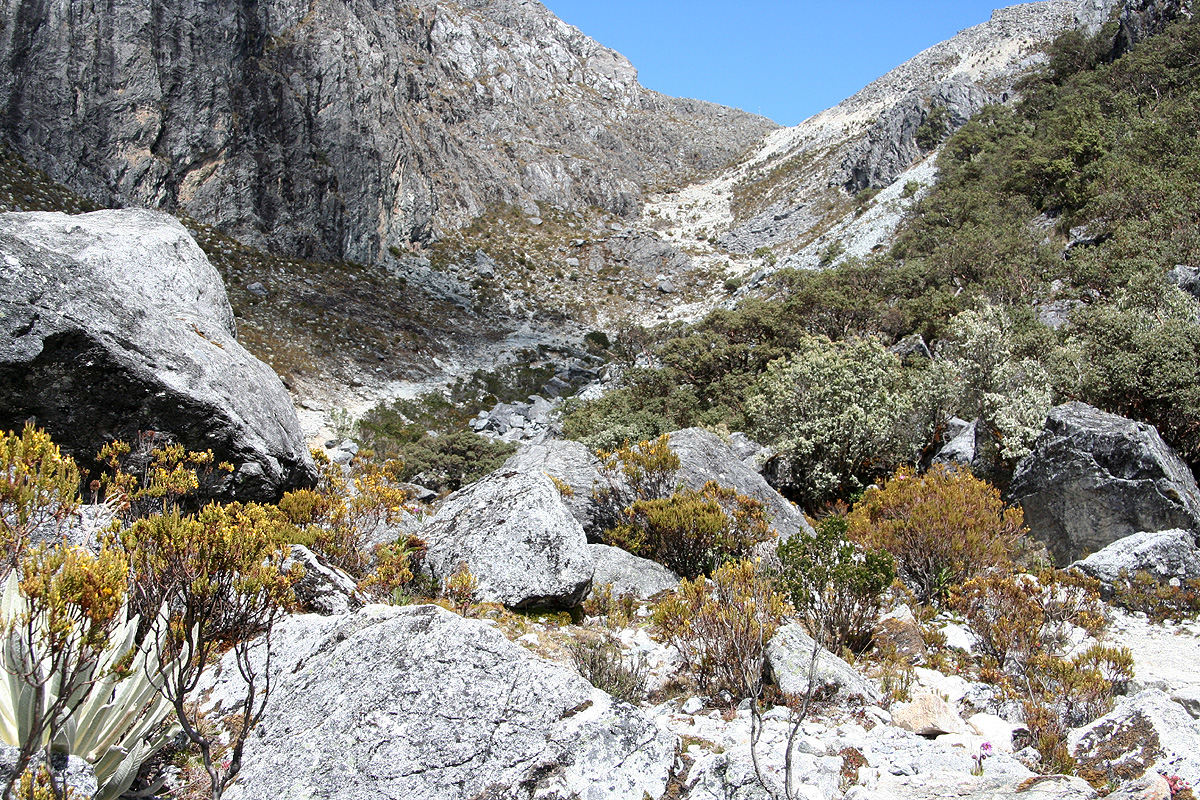
From the camp at 4600 meter, located at the base of Pico Bolivar, proceed uphill
on easy rock in the direction of the distinct col (possibly with some snow) between
Pico Bolivar and the subsidiary summit that is located further right when looking
uphill. Locate a small lake (Laguna Timoncito) at elevation 4700 meter that accumulate water from the
snow in the aforementioned col. The climb is (YDS) class 2 to this point.
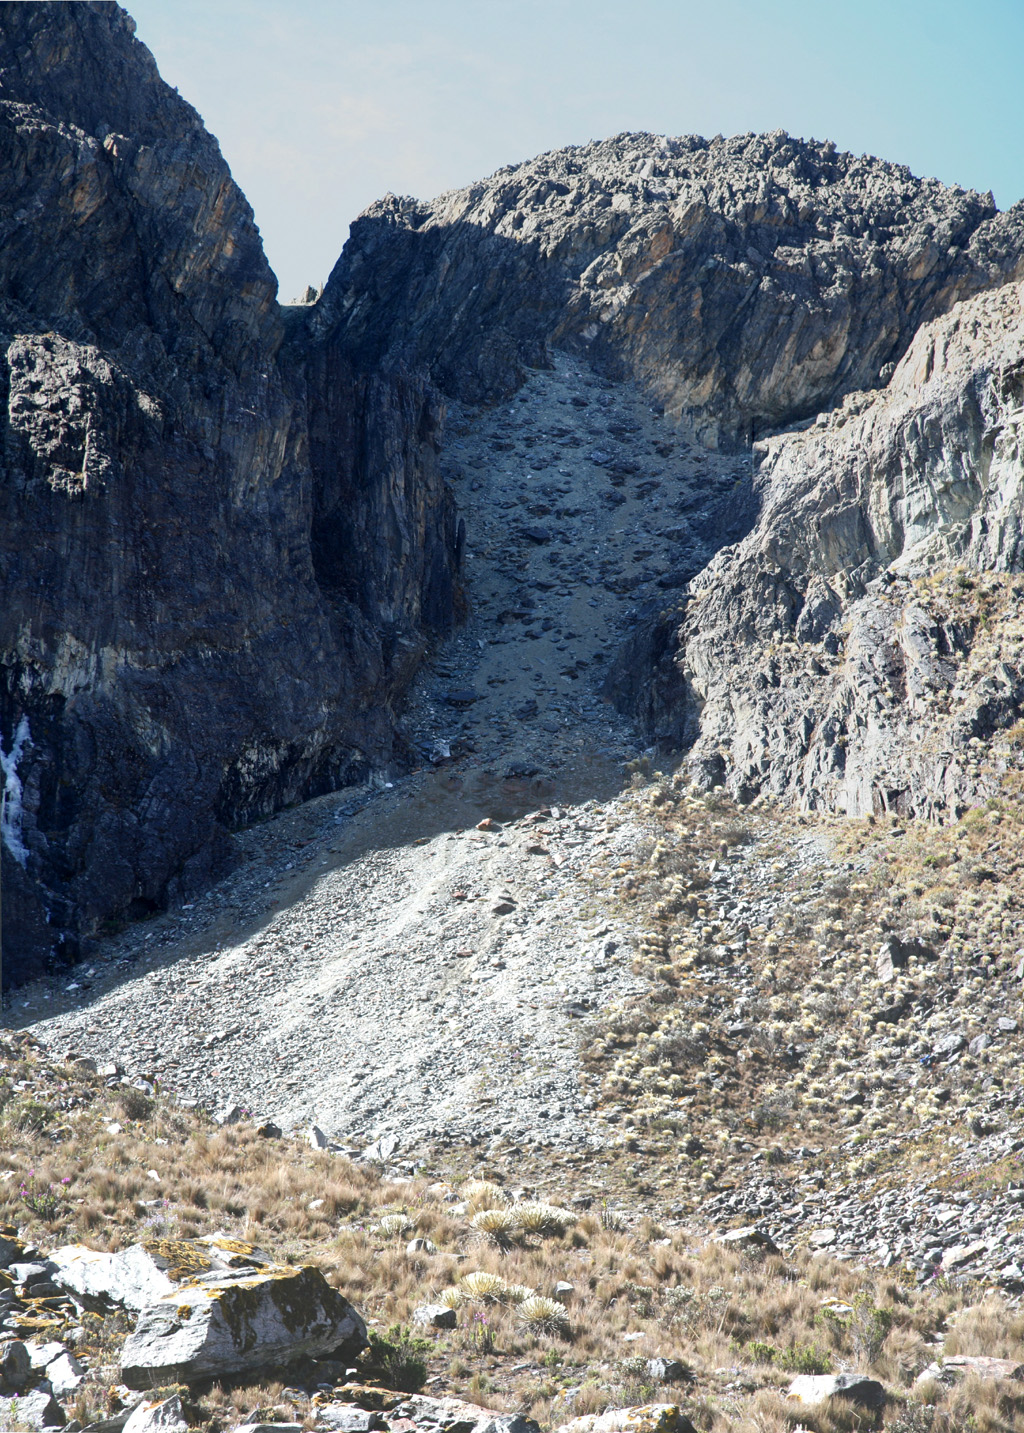
Follow the climbers trail as it continues uphill, mostly on loose scree. Eventually,
you scramble up some short section of rocks with a couple of narrow, but easy ledges, then
somewhat more scree as you head towards a distinct gully higher up, slightly towards
your right when facing uphill.
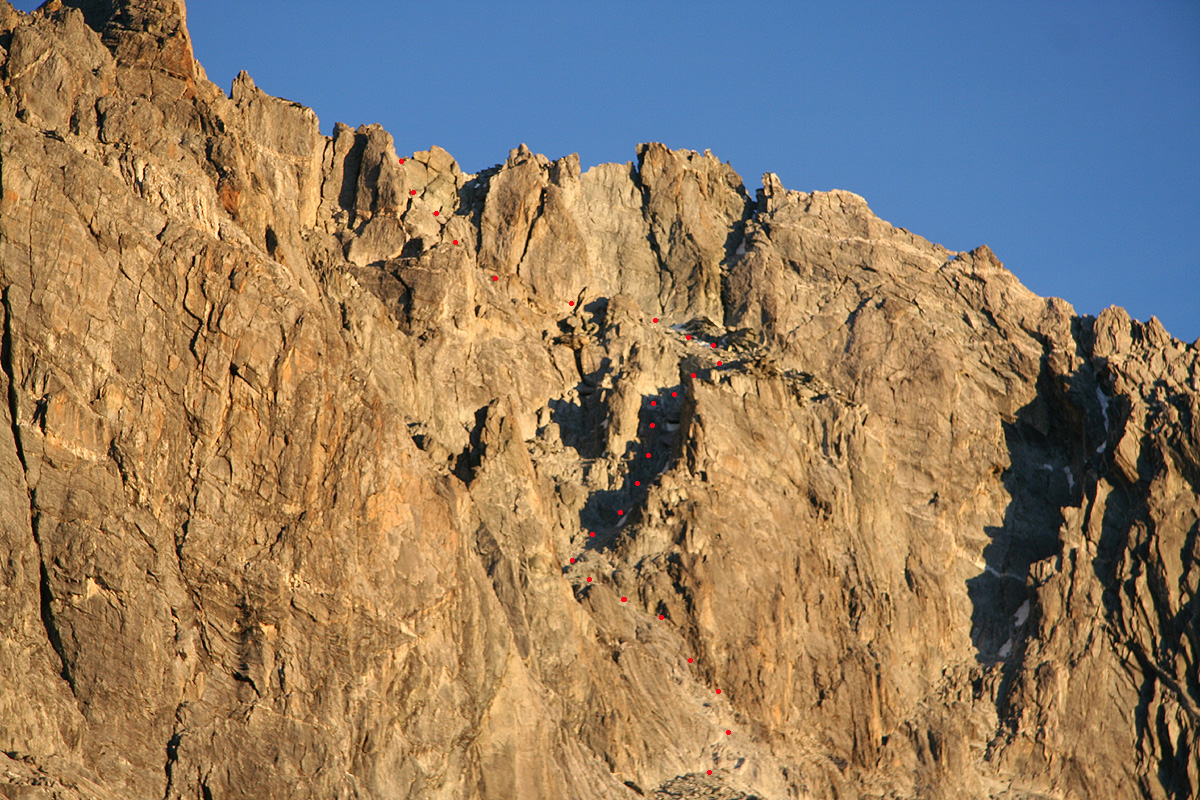
This picture
(taken from camp the morning after our climb)
gives an outline of the route from here to the top of the main ridge.
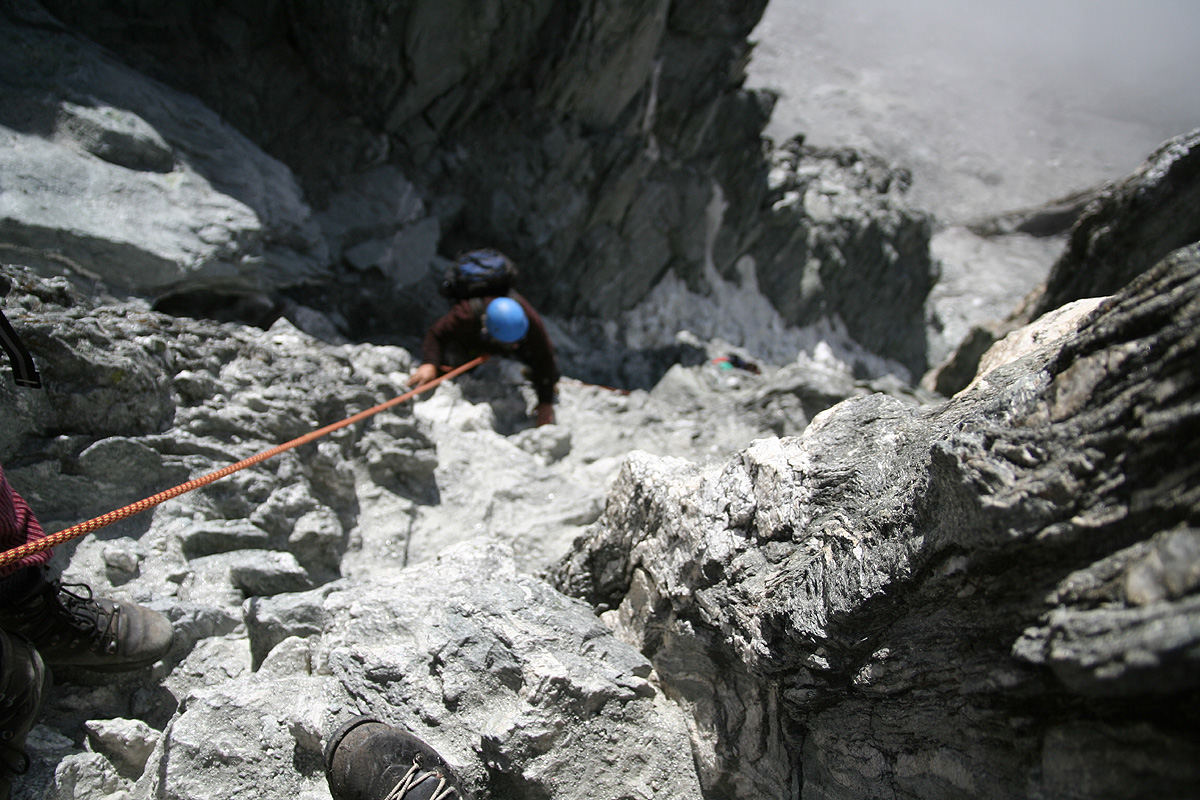
Here, you will notice a permanent belay point in the rock (bolt). The climbing section of
the route begins here. Well up in the lower part of the gully, climb its left side to the
next belay point higher up and still on the left side. This section is the crux of
the climb, as the middle part is quite steep with somewhat small holds for hand and foot.
The difficulty is YDS class 5.4, corresponding to UIAA IV. It may be possible that the
technical difficulties are somewhat less if one keeps left all the way up, see the description
in the trip report for more details as well as pictures.
Later in the season, if the snow has melted, then there may be possible (easier?) routes
also more in the gully itself.
Next, the route proceeds across the gully (possibly on snow) and more gently uphill as you
traverse right. The next belay point is attached to a huge, somewhat square block of rock.
This section is (YDS) class 3, however the snow may warrant the continued use of a rope since
a slip would send you straight down the previously climbed steep gully.
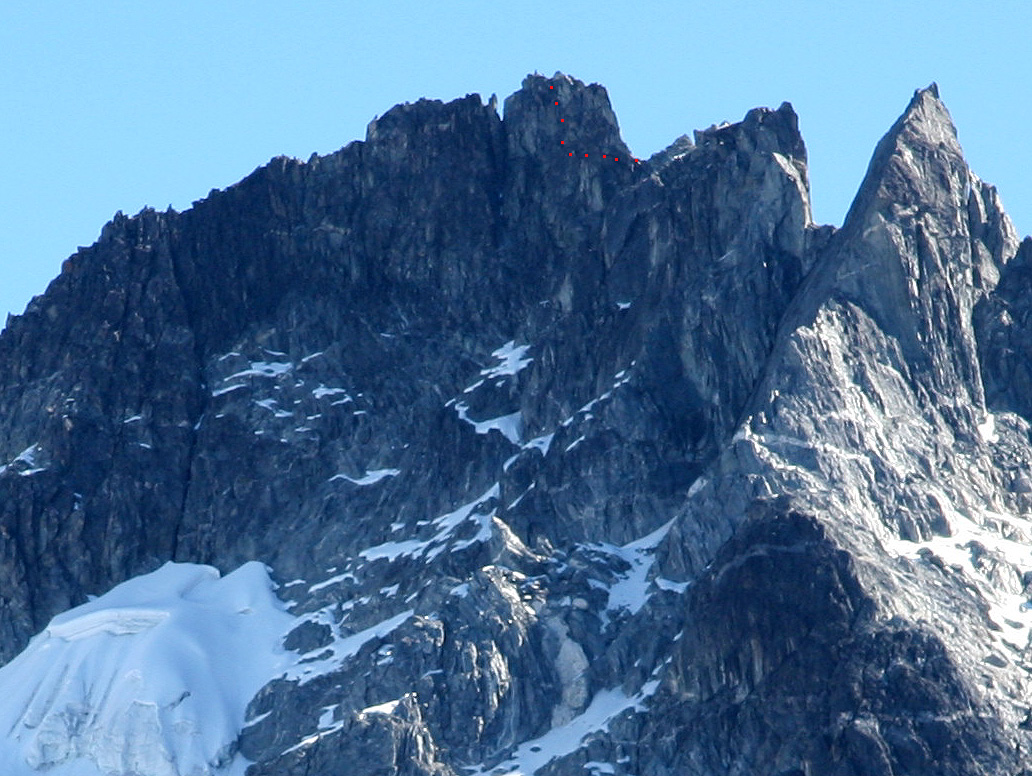
The third section now proceeds uphill to a pretty obvious col that lies on the main ridge of
Pico Bolivar. This part is again (YDS) class 3, as one can climb around and among pretty large
boulders.
For the first time, one can now look down the north side of the mountain towards the city of
Merida. The main ridge continues uphill, it is sharp and jagged and looks uninviting. Fortunately,
by moving around a slightly exposed corner on the north side, one gains access to a pretty
wide ledge that continues almost horizontally along the north side below the summit ridge.
There are very good holds for hand and foot and this move is therefore technically easy.
Proceed along the ledge towards its end
where you locate a distinct gully that runs straight uphill towards the summit
ridge.
This gully is the last climbing section, the climbing here starts out pretty easy (YDS class 3),
but gets somewhat harder higher up as the gully narrows to a crack and a fairly steep move
(YDS class 4/low 5) is needed at the very top in order to again gain the main ridge of Bolivar.
This climbing may be a low (YDS) class 5, corresponding to UIAA III, possibly a single UIAA IV
move at the very top.
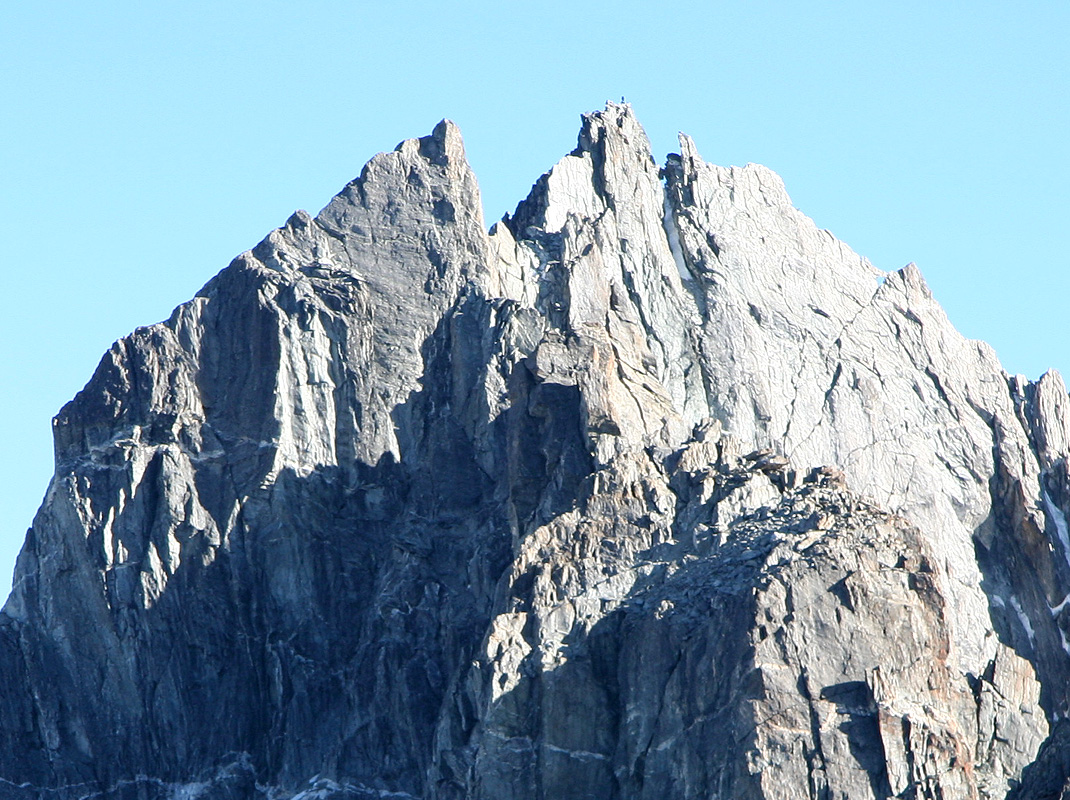
The last few meter follows the ridge to its highest point. A sculpture of the head of
Bolivar is attached here. The ridge consists of several large blocks of rock. Care is needed,
but this section is short and easy (YDS class 2).
Historical Note:
The first undisputed ascent of Pico Bolivar was made by Dr. Franz Weiss (from Germany).
He reached the summit on February 3rd. 1936, following the route which is now the
normal route. Previously, Dr. Enrique Bourgoin had made several unsuccessful attempts,
his best effort most likely getting him to the lower north-east summit.
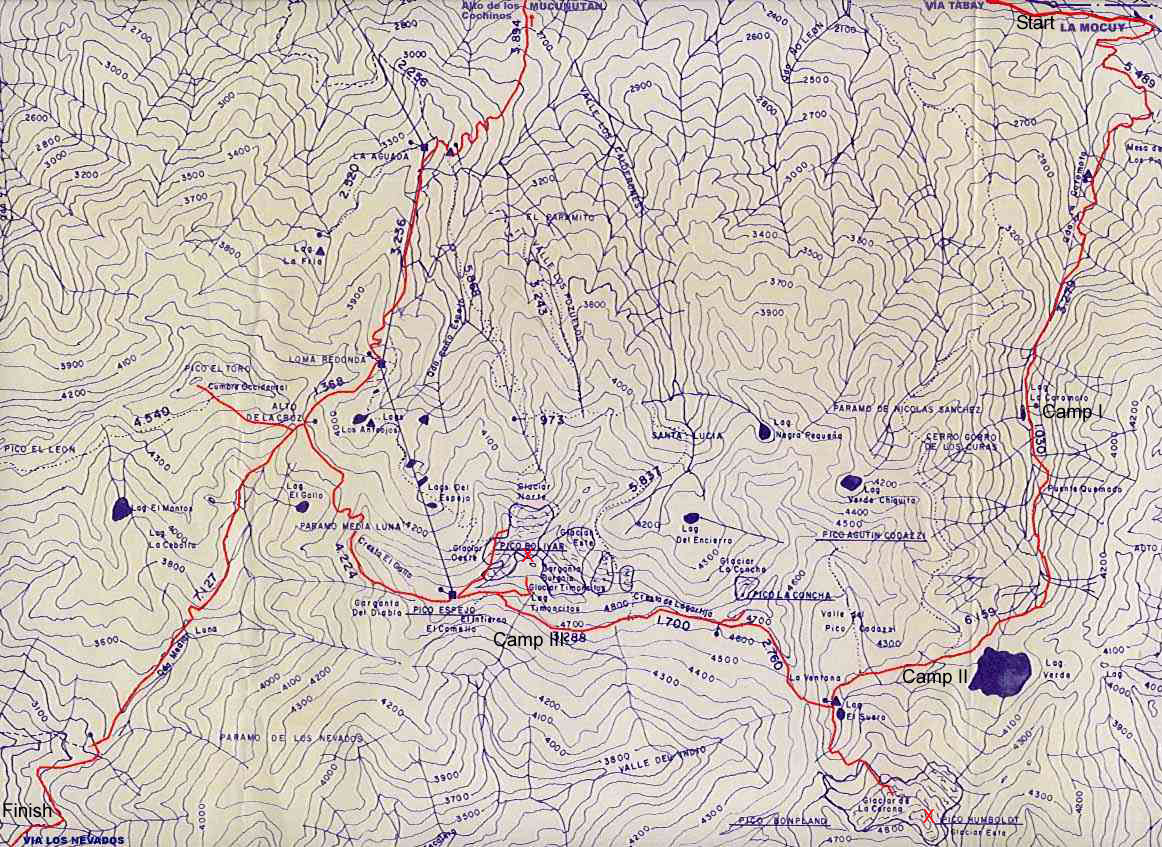
A Brief Summary of our Climb:
This map shows our route with the three camps as well
the two summits.
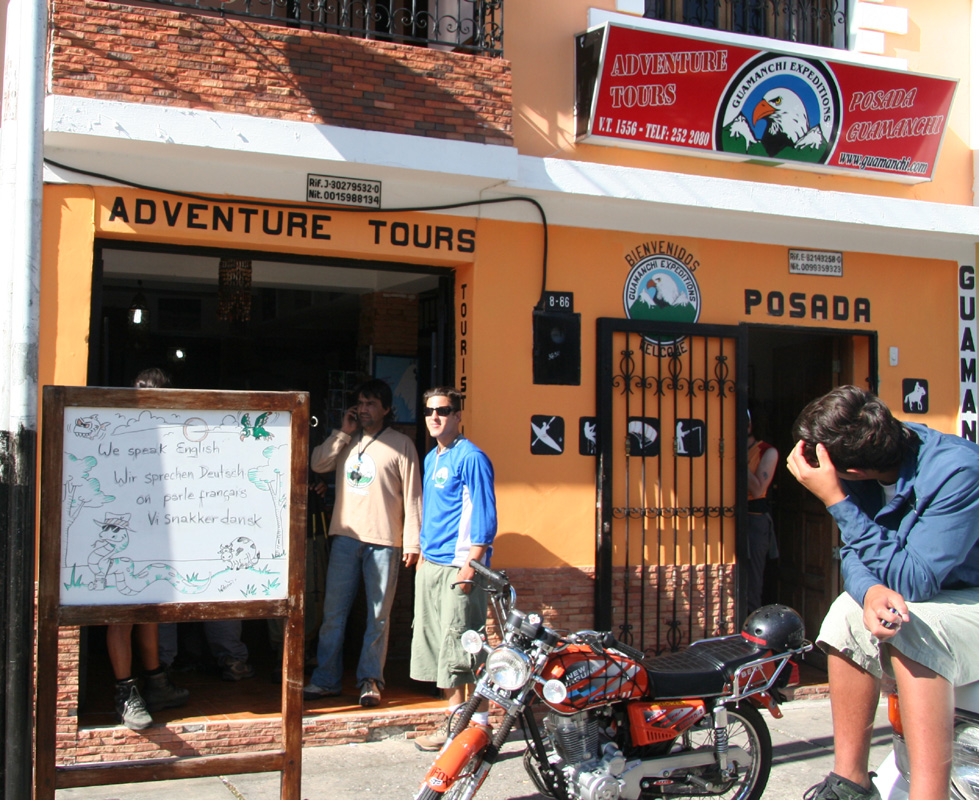
Day 0: We arrived in Merida with Santa Barbara Airlines (from Caracas). Checked in at
the Guamanchi Posada,
then took a taxi to La Culata and did an acclimatization
hike to about 3645 meter.
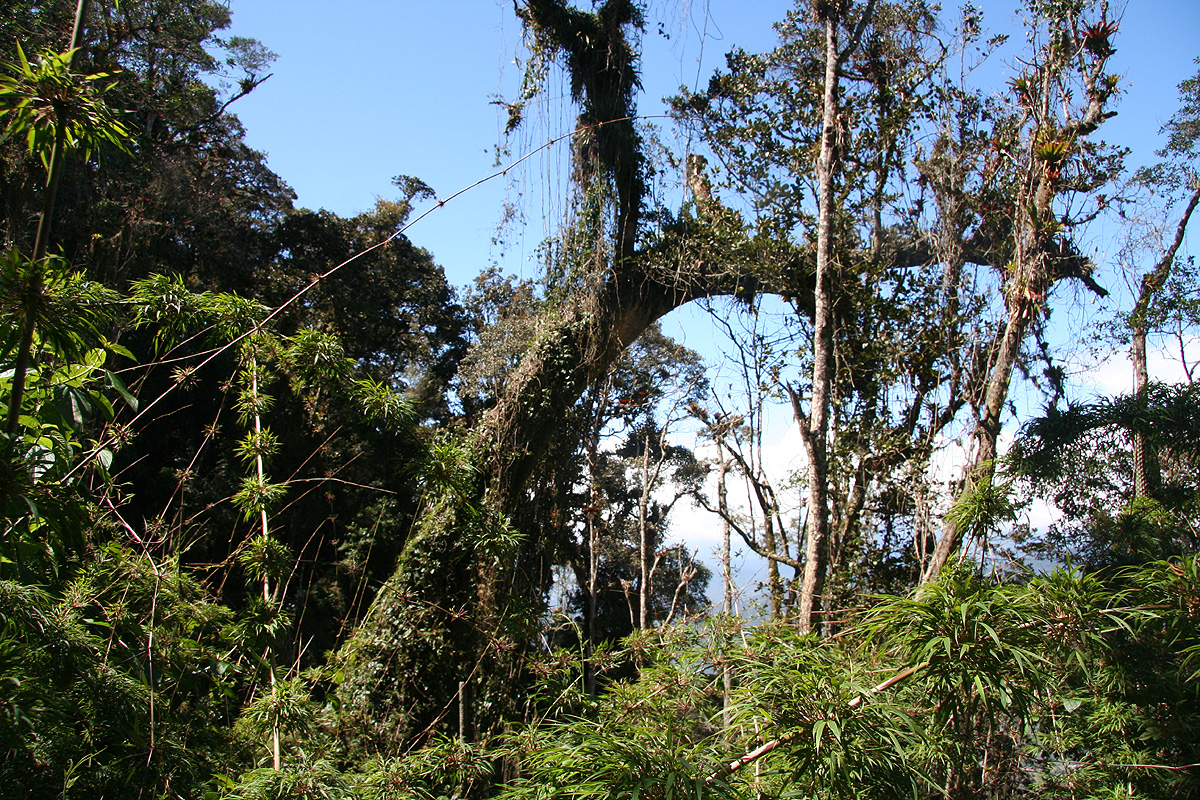
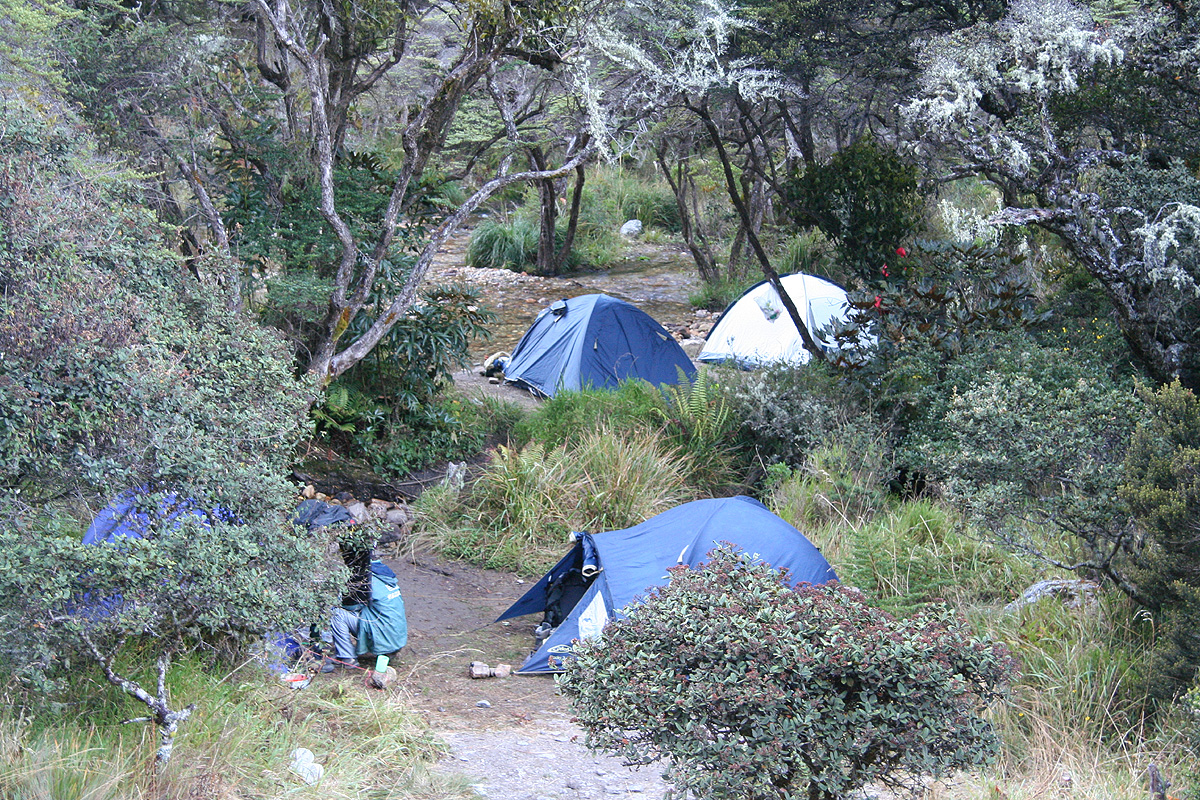
Day 1: We started out from
the La Mucuy entrance to the National Park and
hiked a jungle trail
to Laguna Coromoto. Camp I (3300m).
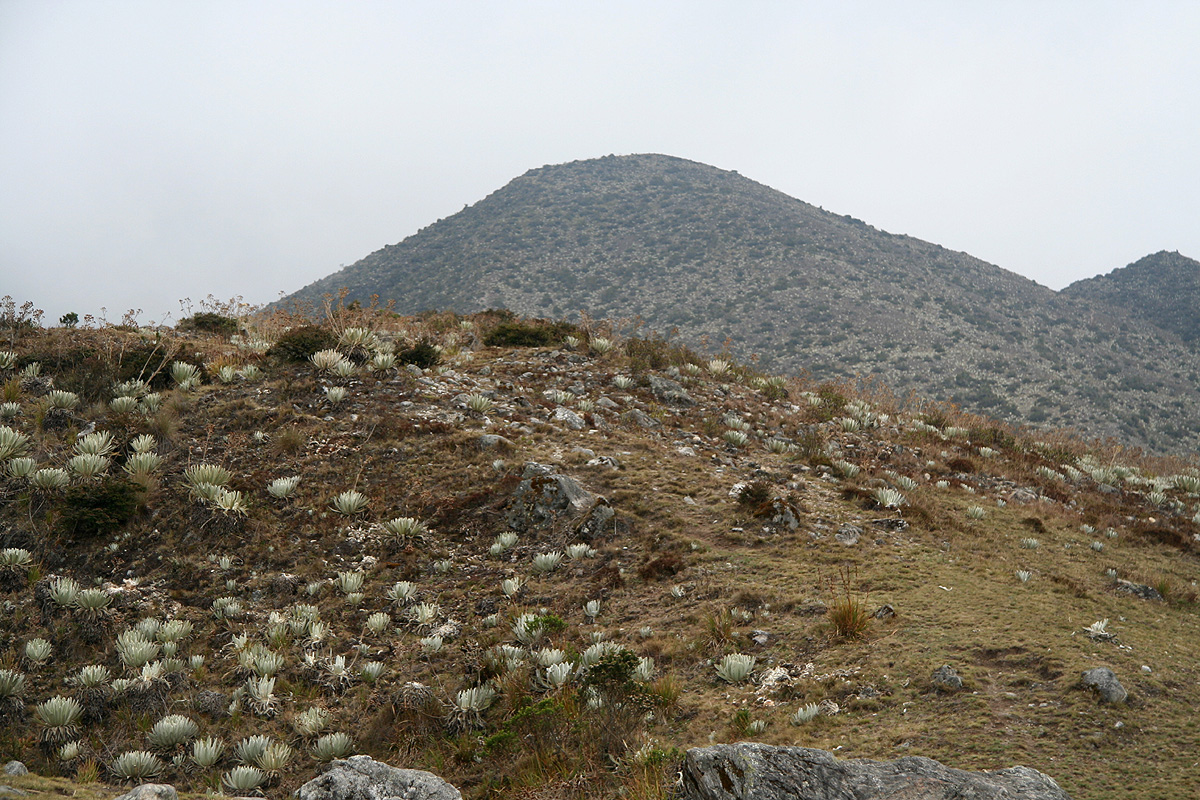
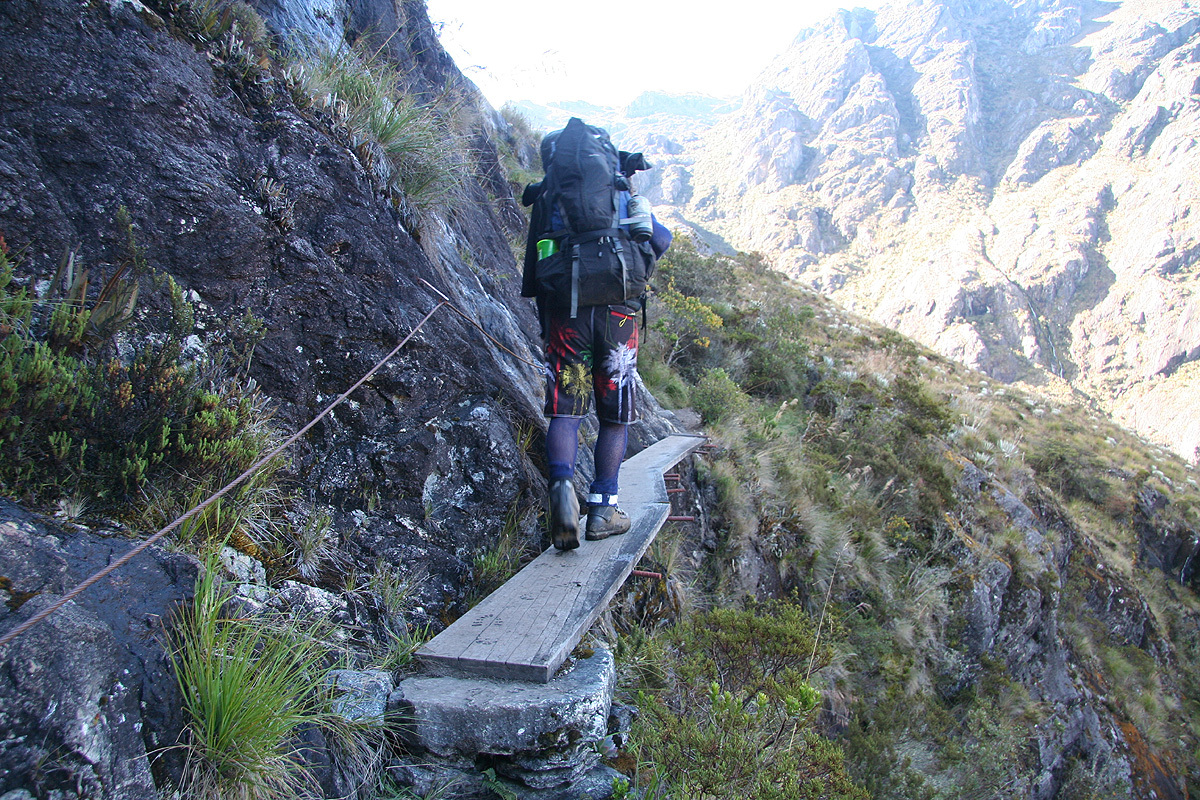
Day 2: We continued on a fairly rough trail with boulders and some sections where hands were
useful for easy support and balance (YDS class 2)
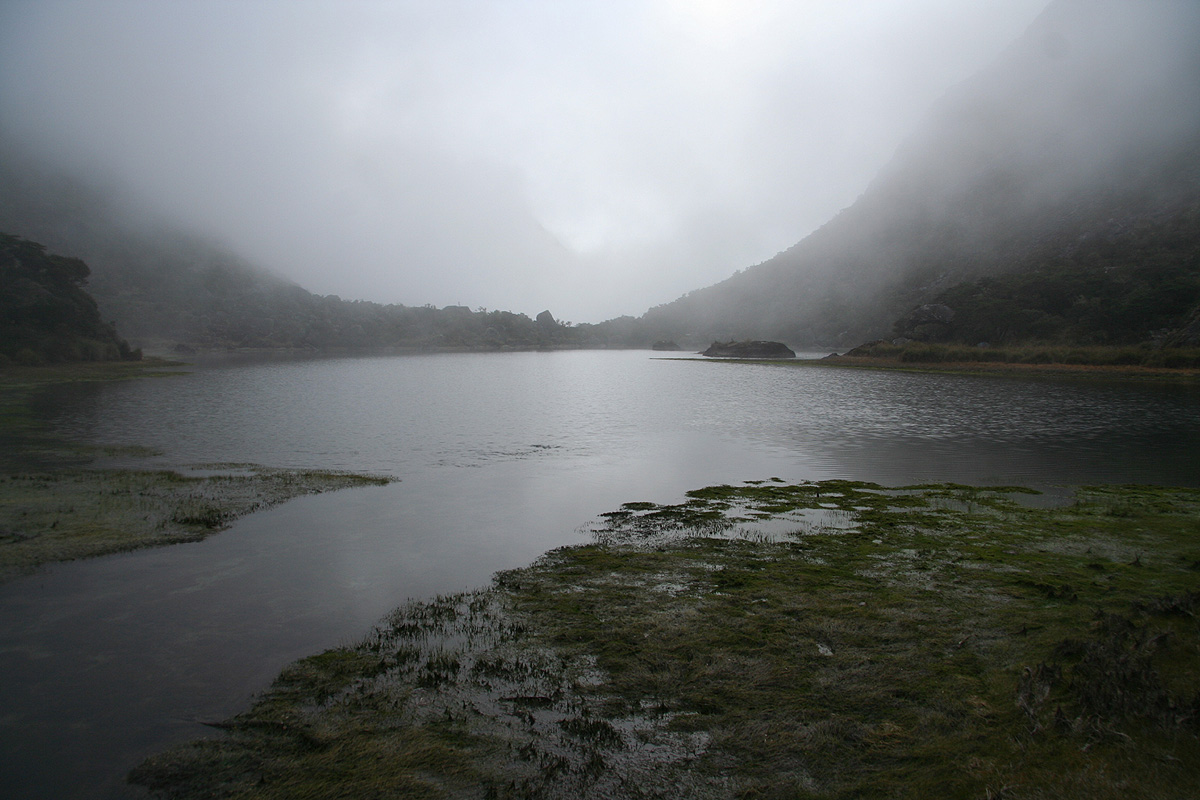
to reach the secluded valley with
Lago Verde. Camp II (3971m).
Day 3: We climbed Pico Humboldt (4925 meter) and returned to the same camp.
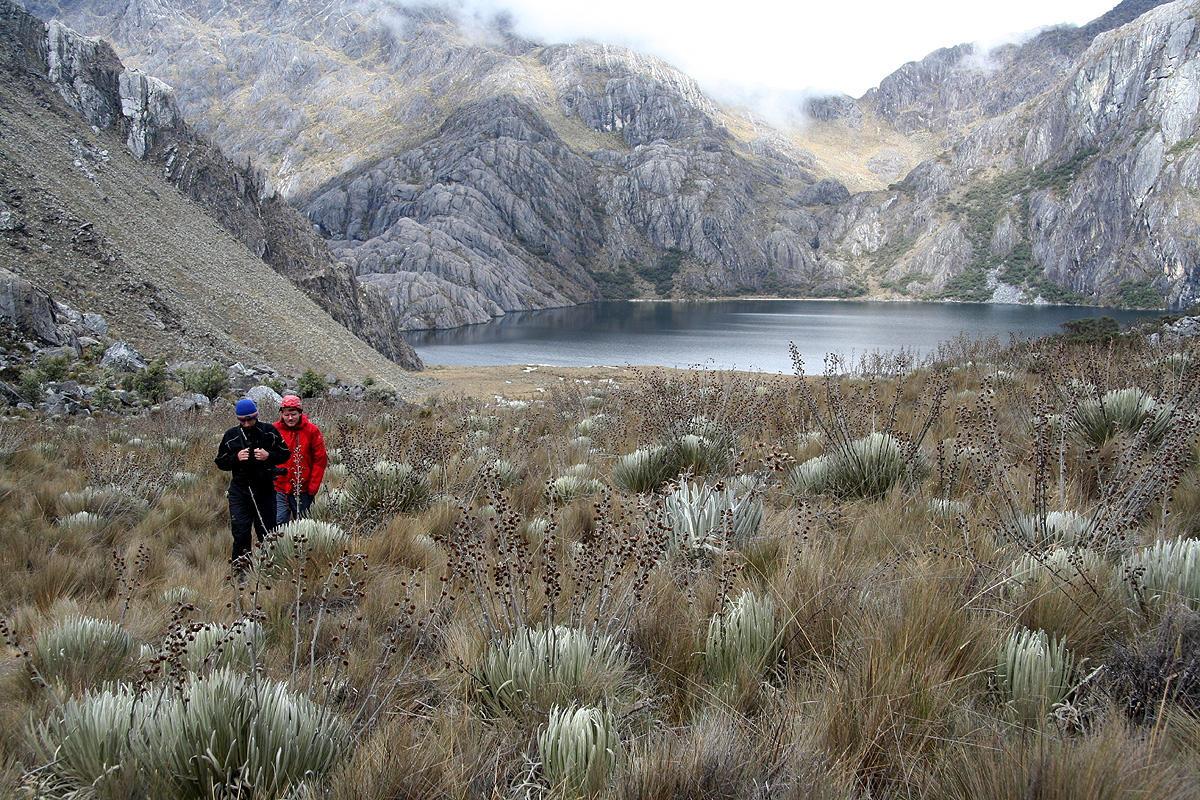
Day 4: We continued to Laguna Suero, up
a scree gulley and across a col in order to traverse the
huge slope leading to the base of Pico Bolivar. Camp III (4600m).
Day 5: We climbed Pico Bolivar (4988 meter), the (short) crux
being quite steep with somewhat small
holds (YDS class 5.4, UIAA IV). Return to the same camp.
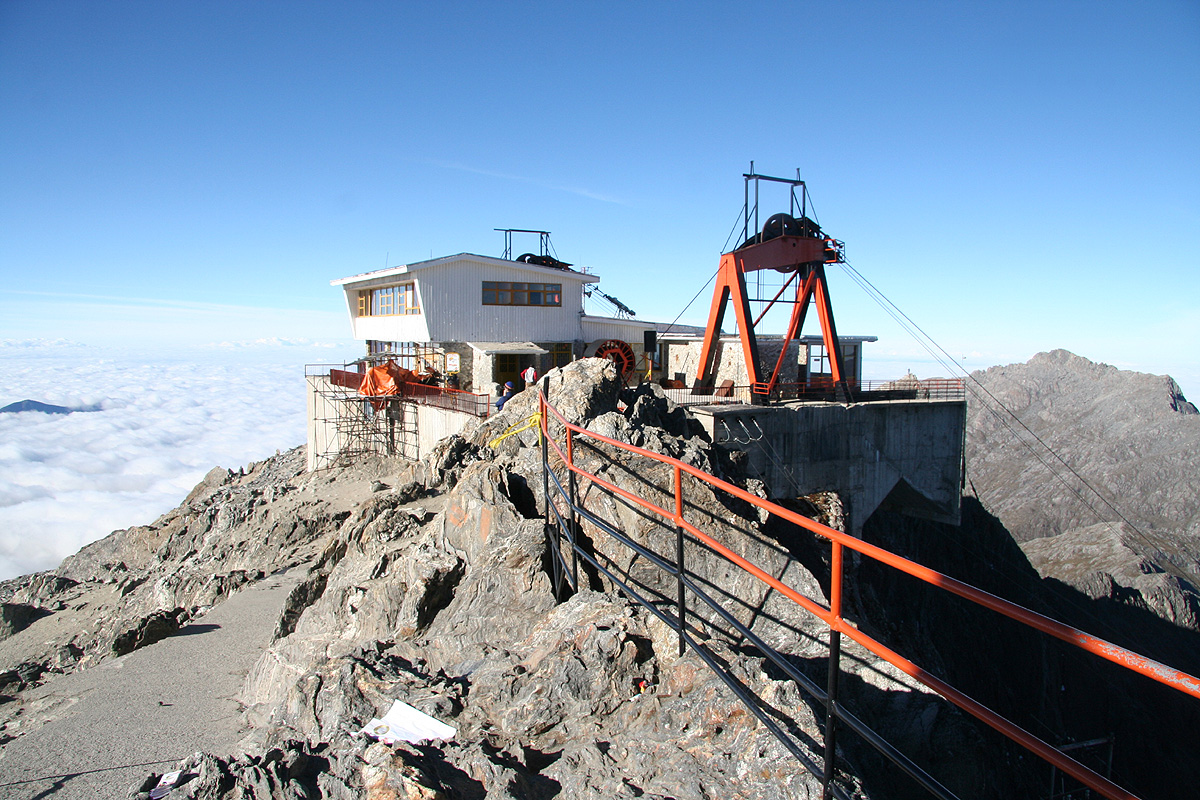
Day 6: We hiked to Pico Espejo (no rank),
the top of the Teleferico (Highest in the world). Our route
was direct, nice scramble (with heavy backpacks) up along a distinct crack. We continued a very
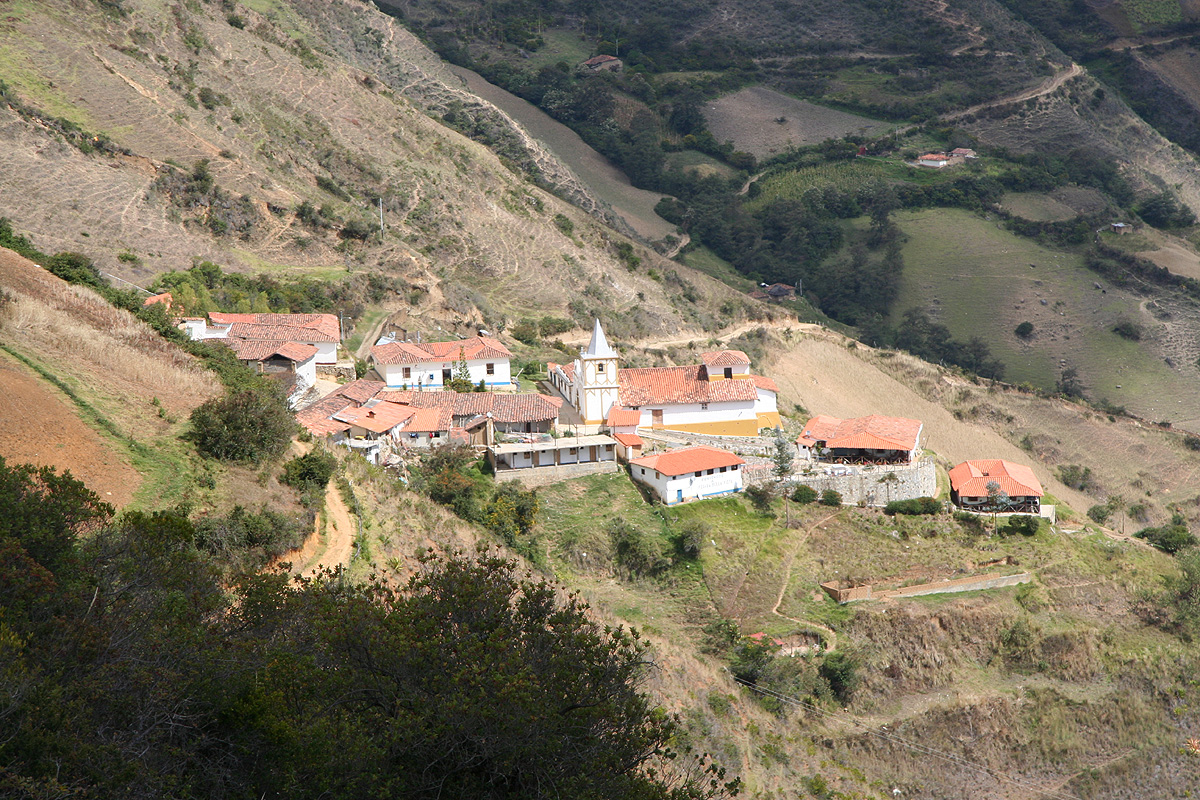
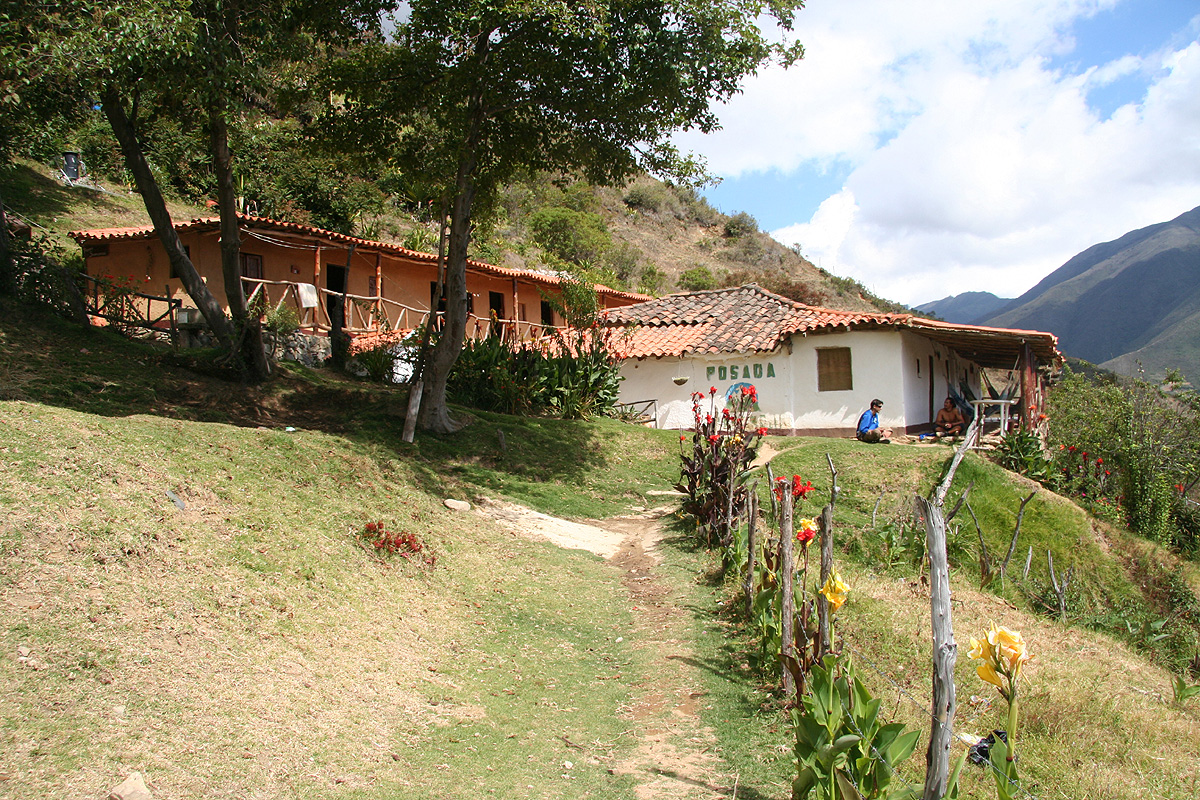
nice hike down to the
Andes village of Los Nevados.
Overnight in a Posada owned by Guamanchi.
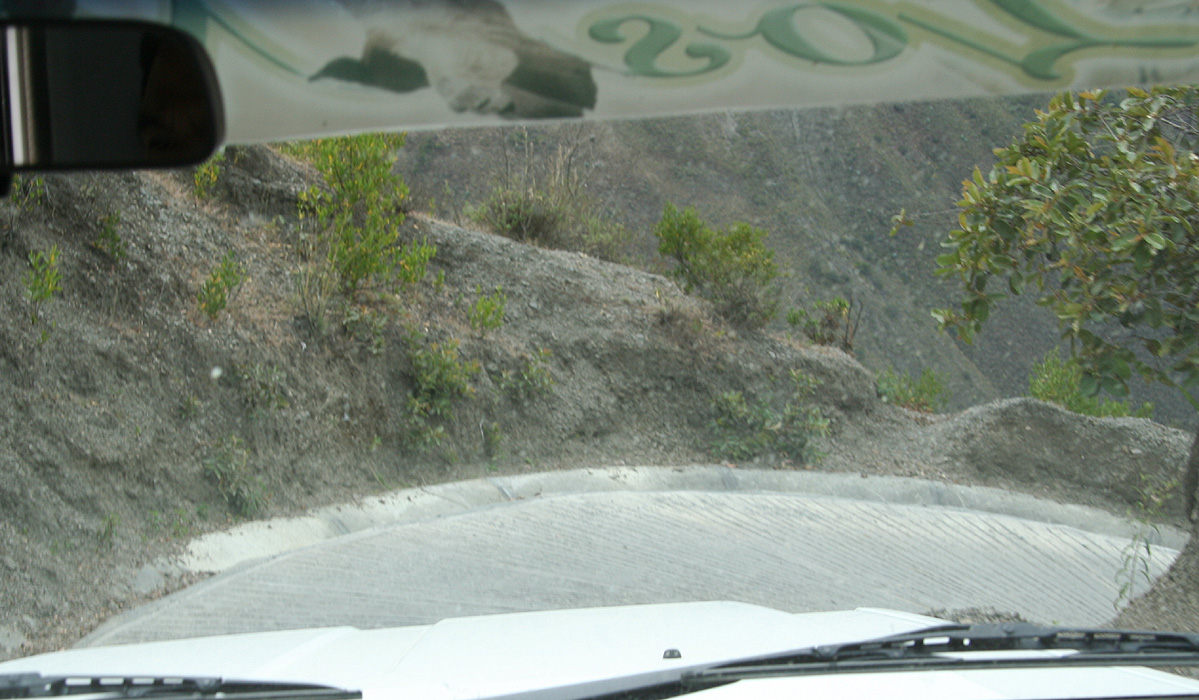
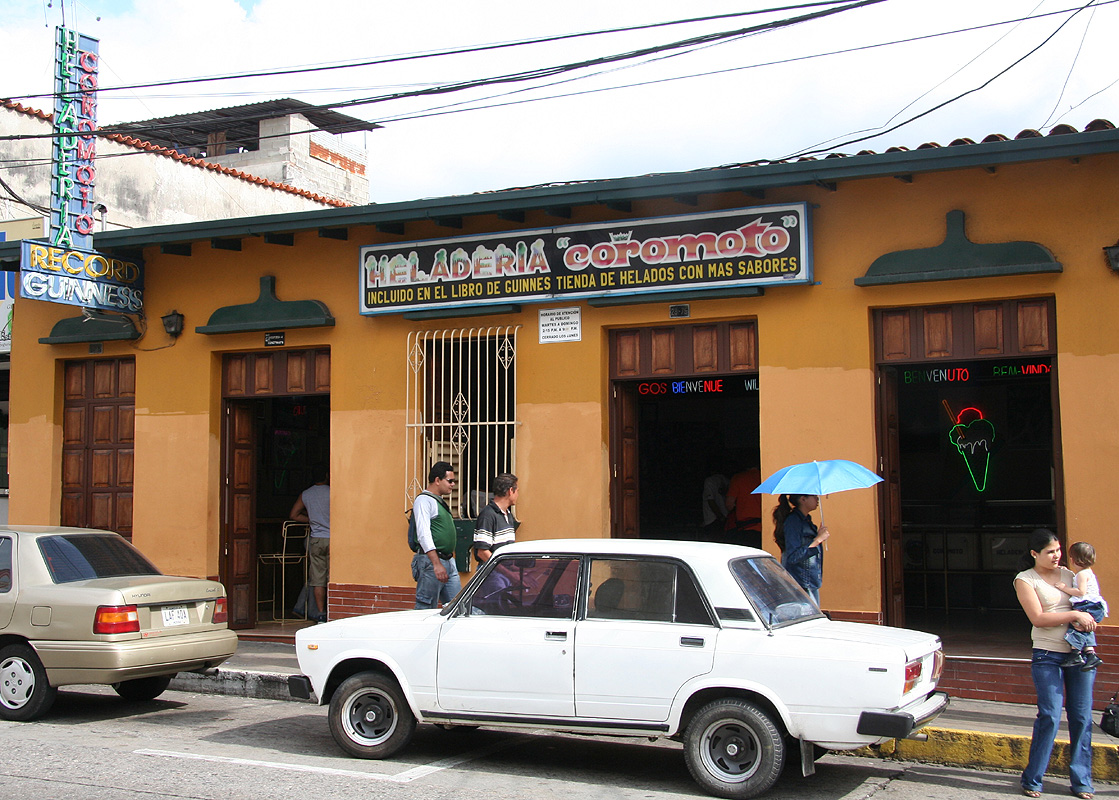
Day 7: We travelled by jeep back to Merida and celebrated with
icecream in Heladeria Coromoto (Guinness book of
world records for having more flavors than anywhere else.)
Day 8: We flew home to Bergen Norway (4 flights in rapid order).