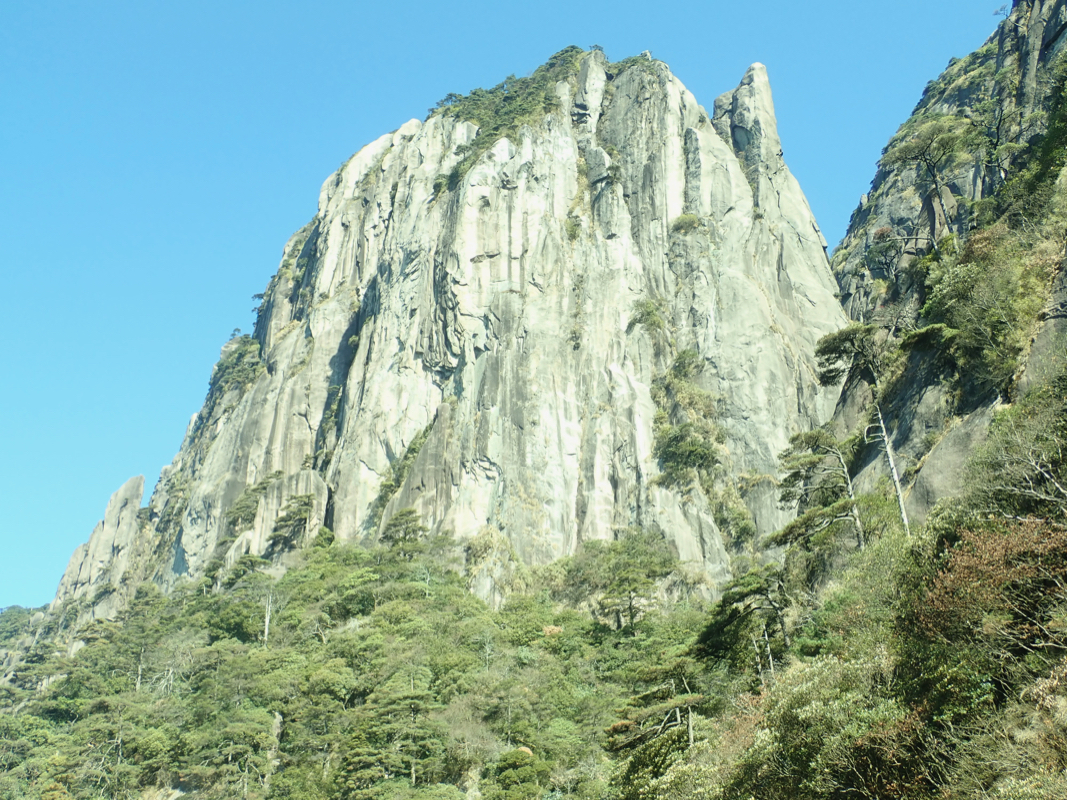
Sanqing Shan

  • Sanqing Shan
  • 1820 m
  • Primary factor 1606 m
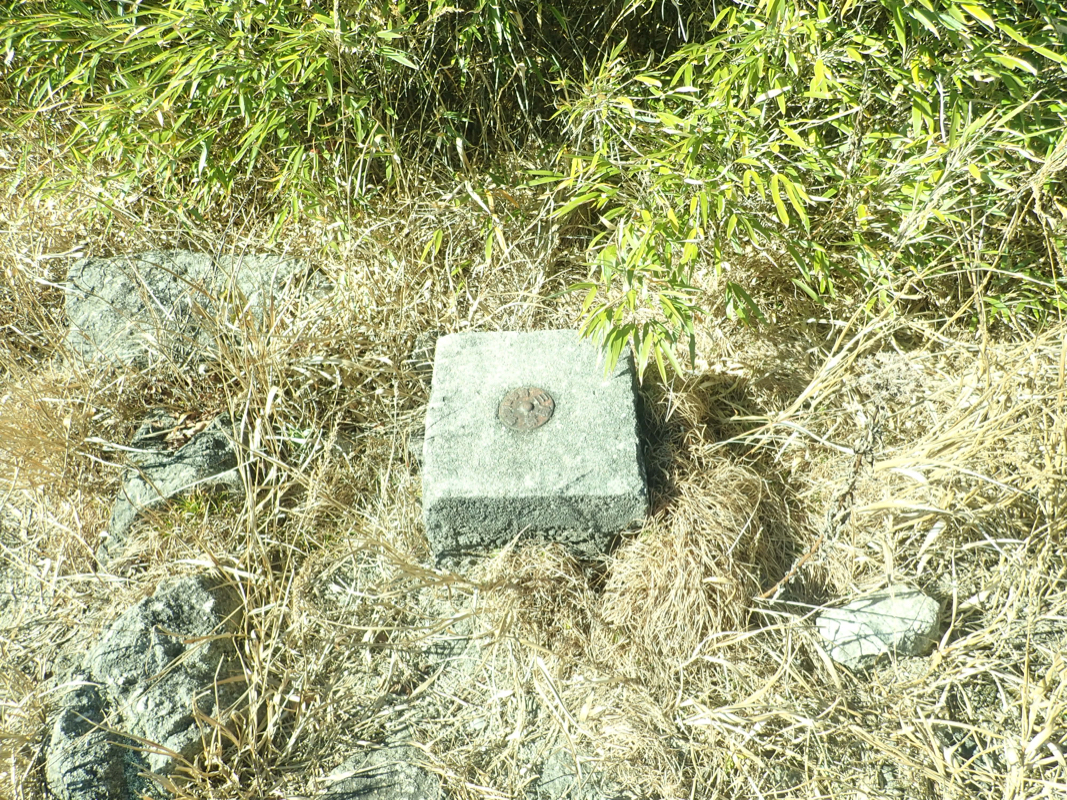
  • Location North 28.90924, East 118.05872 (GPS on the summit)
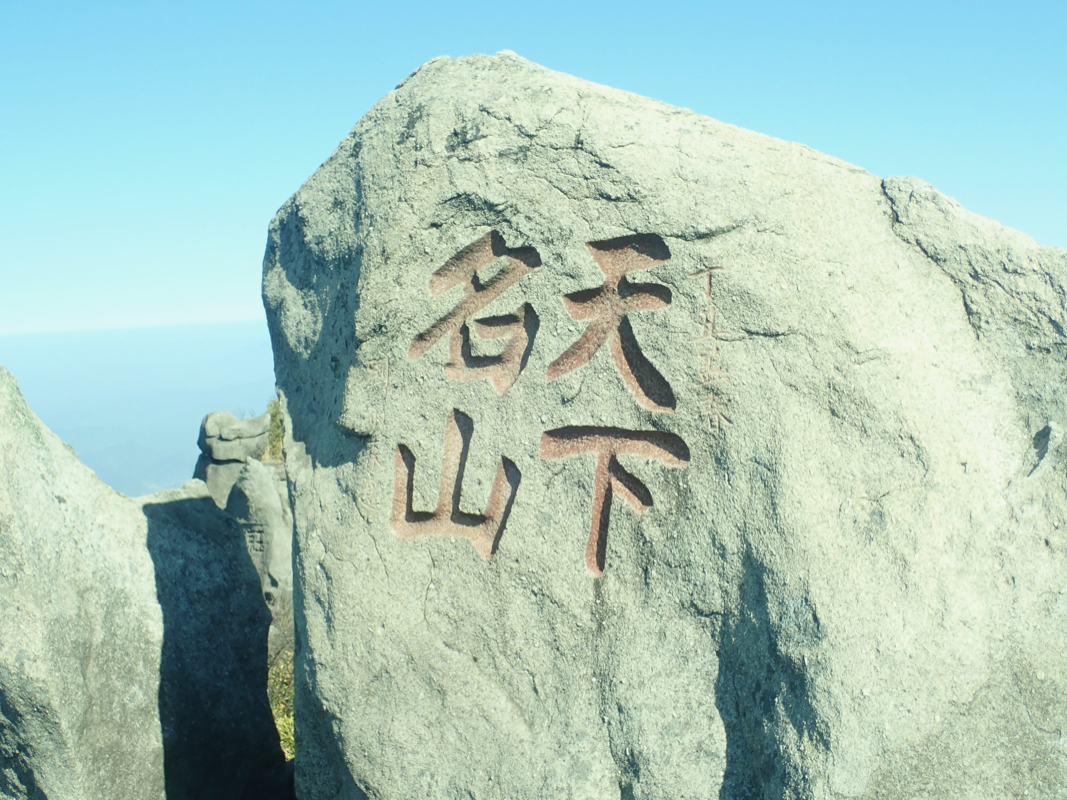
  • The highest peak is called Yuhua Feng (local) or more common Yujing Feng
  • China
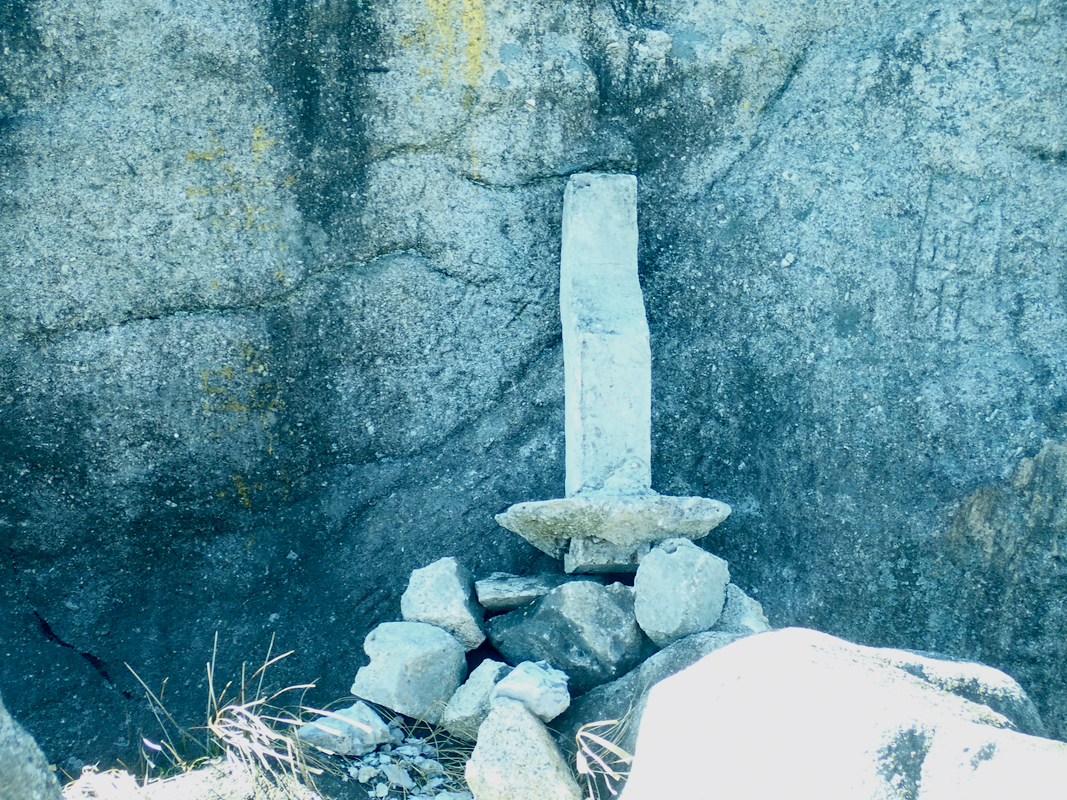
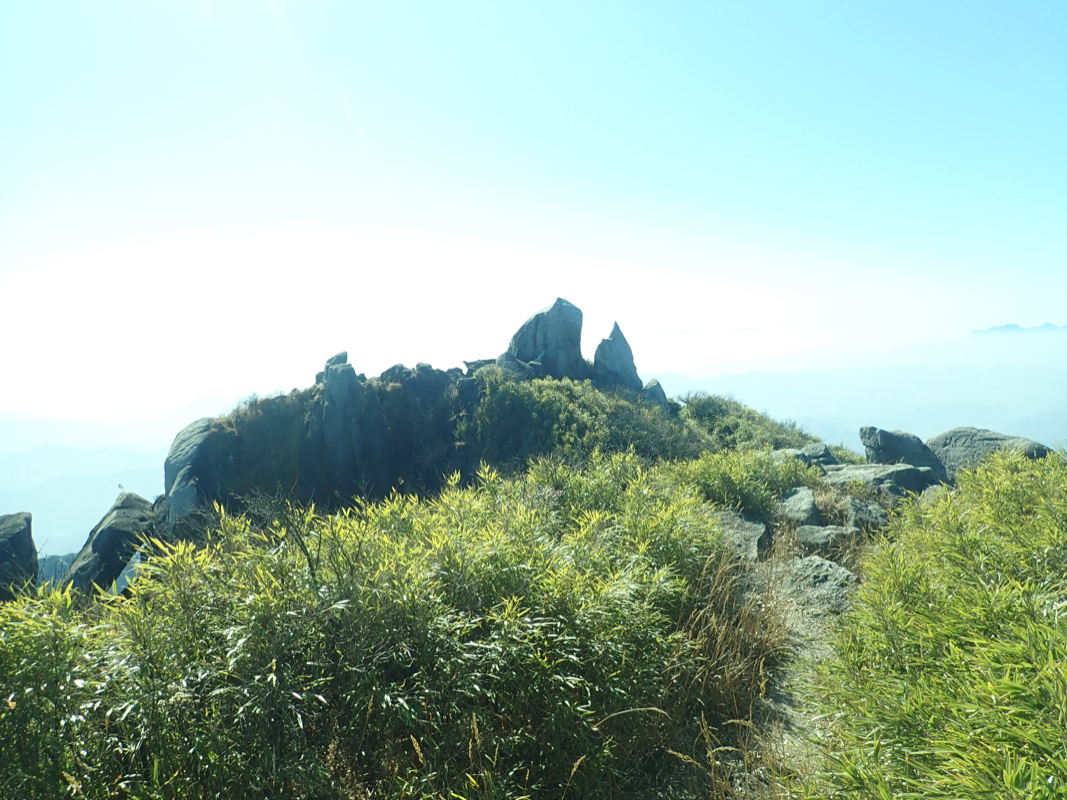
  • Difficulty: YDS class 4 (only summit block)
  • Climbed November 20. 2019.

Information:


How to get there:
I arrived on the High Speed Train (Bullet train) to the Shangrao station. Well organized place also some signs in English. Follow signs to the East Coach Station, a short indoor walk. Buy a ticket at the ticket counter for Sanqingshan. They will show you departure time as well as the gate from where your bus will be leaving. The bus takes about one hour allmost all on 4 lane divided Hwy. The last few kilometer up the valley on a standard 2-lane road. The bus stops outside the Hilton hotel. This hotel is in the upper price range, but actually good value for money. Pretty flawless place, friendly people clean and good sized rooms, very good service. Can be recommended. There are likely less expensive options as well, I did not check. Note that this is the South access point. There is another rope-way with hotels at the base on the east side. The location of the small village is roughly N28.87929, E118.06339, elevation about 560 meter. (These coordinates are for the shuttle bus station, perhaps 50 meter downhill from the Hilton.)
Route description:
From the hotel, exit and turn left (downhill direction), there is a plaza immediately, and the ticket office is sort of on the right hand side of this open space. Once you have your tickets, cross the same plaza in the uphill direction and continue up a smaller street with shops, partly stairs to climb in order to gain elevation. You are moving uphill with tghe Hilton hotel now being on your left side. After gaining about 50 vertical meter, you arrive at another smaller plaza from where the rope-way (gondola) lift will depart.
The rope-way will lift you from near 610 meter of elevation to about 1200 meter. It first climbs an uphill slope, then descends a bit as it follows a distinct valley to the upper station. There are nice granite cliffs along the way, as well as up near the horizon.
Exit the rope-way and climb stairs (there is one short downhill section) keeping left when facing uphill. Continue until you reach a trail-fork at location N28.90444, E118.06073, elevation near 1350 meter. Going left here, will get you on the west route to the summit. Alternatively, you may go right here, then stay left at all following forks, this will get you to the summit trail taking the loop trail counter-clockwise. I would recommend to do this loop and going counter-clockwise is perhaps the nicest way.
You need to find the fork where the summit trail branches off from this loop trail. This location is at N28.91385, E118.05551,elevation about 1580 meter. The summit trail has quite a few stone steps as it gains about 250 meter including a small loss of elevation along the crest.
Summits:
After arriving at the end of the stone steps (YDS class 1), you arrive at a good view point having one large summit rock. This rock has been decorated with some Chinese symbols, but there is no obvious way to the top. This rock would be easier (and safer) to climb if you are a party of at least 2, preferably also carrying a 10 meter rope. The best way up is likely from the back. Move around some small temple with a few figures and scramble to the top of (loose) rocks there. You are faced with perhaps 2.5 meter of fairly vertical rock. There is a friction area somewhat to your right and a small foothold about half-way up. It would be easy to throw a rope across and have a person anchor from the opposite side. It is important to keep in mind that also a downclimb is needed. This could be safeguarded by a person below. The climb is definitely (YDS) class 4.
It might also be possible to friction climb the rock from the end where its ridge-line comes down, gradually steeper. One would edge up with one leg on each side of the rock. Again, a rope would be preferable and a companion to safeguard from below seems a must.
In order to climb the second, slightly lower summit, first return a few steps down the main trail, then scramble to the base of what is clearly the crux. Several foot-steps have been carved in the rock. Standing on the opposite side of the gap just below the cliff, locate two iron pipes that has been inserted into the rock, one up right, the other to your left. Put one finger in each pipe. This provides enough handholds to move your feet across to the footsteps and then up on top. Quite an interesting design. The rest is easy walk. This climb using the aids is (YDS) class 3. Note that a camera has been mounted across the main path pointing at this crux area. It seems that the climbing here may be monitored by park officials.
Comments:


I spent quite some time looking at this summit block to find weakness in its defense. It was pretty obvious that having a companion here would have been most useful. I was the only one that had taken the side trail that forked up here with more than 200 extra vertical gain. I sort of hoped that someone would appear, perhaps a guy that could assist me a little, most likely any person arriving would not get involved. Clearly, people climb to the base of this rock not on top of it.
I decided that I perhaps could get up with more safety margin if I tried to build a small ramp at the base of the most promising spot. Unfortunately, the rocks were small and not very useful, or they were indeed a bit too heavy for me to carry around. I could not devote the rest of the day. Then, I found some sort of broken concrete pillar, it would give me quite a bit of height. I carefully climbed onto the top of my tower/ramp, high enough to get hands on top. The small foothold is then key to further progress. I did not dare to move onto the top rock, but high enough to touch the summit, quite scared/nervous about how to reverse the moves. Good enough for me given the circumstances where some degree of safety margin had priority. I was relieved when safely down on easy ground.

I then went over to inspect the second summit. I had seen the carved footholds from the summit rock. Thus, I assumed that this was a walk-up. Wrong, upon closer inspection this looked hard as well, due to the lack of handholds. I then discovered the pipes providing a single finger handhold, first the one up right, then the left one. The rest was pretty obvious. Still, also here, reversing the moves to descend requires some caution. The second summit had a trig. marker besides grass. One has a pretty good view along this grassy ridge back to the other summit block.
I left the summit area and hiked back down the steps to gain the loop trail. This time, turning left in order to complete the west part. The trail leading back on the west side is somewhat shorter and also more bolted to the rock than the other part of this loop trail.

Resources: